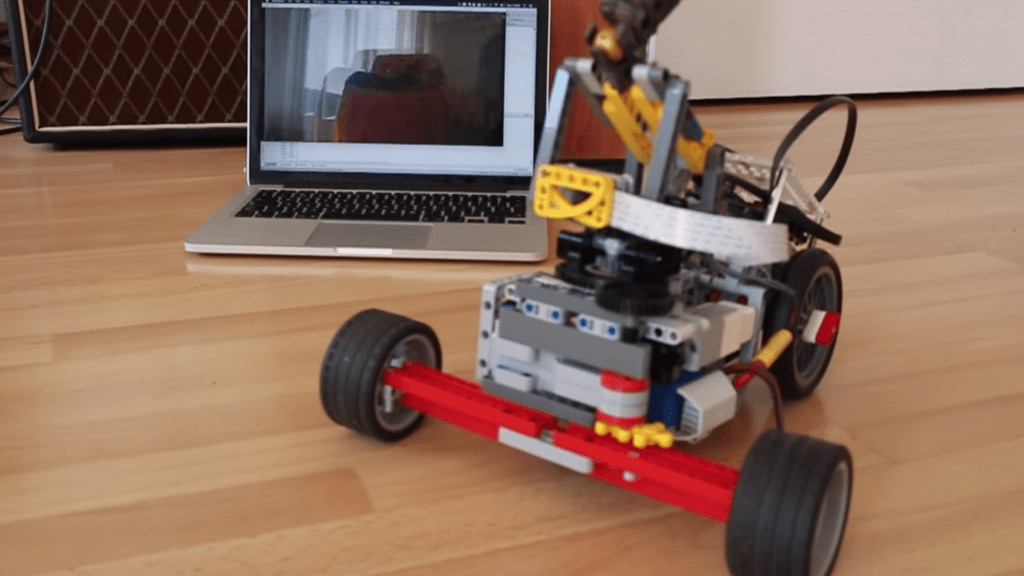
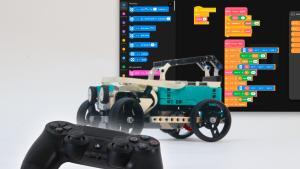
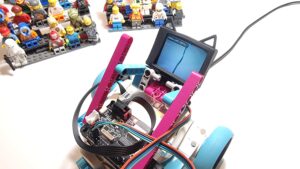
I want to build remote controlled Lego robots with an onboard camera so I can drive around with them without having to see them. I did a lot of research to get a lagless video stream from the Raspberry Pi to my computer. It proved to be quite a challenge. But I found a way, it works!
Actually there are two methods that work: gstreamer and netcat. Both are detailed below. VLC and Mjpeg player are alternative methods that I didn’t get to work, at least not lagless. My favorite method is gstreamer.
Gstreamer
This solution proved the most stable, lag-free and flexible solution to me. The reasons for this being that gstreamer has nice python bindings and the order in which you start the sender or the receiver doesn’t matter. Gstreamer installation should be really easy, both on the RPi and on your mac. I will assume you installed and enabled the PiCamera already. On your RPi just do:
[bash]
$ sudo apt-get update
$ sudo apt-get upgrade
$ sudo apt-get install gstreamer1.0
[/bash]
On the mac, the easiest way to install gstreamer is using homebrew. I prefer it over macports. Just do:
[bash]
$ brew install gstreamer gst-plugins-base gst-plugins-good
[/bash]
Easy as Pi. On windows I wasn’t able to get gstreamer to work. If you know a good installation tutorial, let me know.
Now it’s time to stream. These are the commands you need.
On Raspberry Pi do (change the IP address to the address of your target computer):
[bash]
$ raspivid -t 999999 -b 2000000 -o – | gst-launch-1.0 -e -vvv fdsrc ! h264parse ! \
rtph264pay pt=96 config-interval=5 ! udpsink host=192.168.99.61 port=5000
[/bash]
On your mac do:
[bash]
$ gst-launch-1.0 udpsrc port=5001 ! application/x-rtp, payload=96 ! rtpjitterbuffer ! \
rtph264depay ! avdec_h264 ! fpsdisplaysink sync=false text-overlay=false
[/bash]
On my setup I had a near realtime stream over wifi. I didn’t measure it exactly but the lag was below 300ms.
Netcat/mplayer
The alternative to gstreamer is using netcat to dump the camera data over a network pipe. This requires installing mplayer on your mac/pc. Again, it’s easy with brew. The trick is to read at a higher framerate than Pi is sending. This way the buffer stays empty and the video is real-time.
Here the order in which you execute the commands is important. First do this on the mac:
[bash]
$ nc -l 5001 | mplayer -fps 31 -cache 1024 –
[/bash]
Then, do this on the RPi – insert the correct IP address, of course.
[bash]
$ raspivid -t 999999 -w 640 -h 480 -fps 20 -o – | nc 192.168.178.22 5001
[/bash]
It’s also possible to do this on Windows. For this you have to download netcat and mplayer and put them in the same directory. Go to that directory using the command prompt and execute this:
[bash]
>nc -l -p 5001 | mplayer -cache 32 -demuxer lavf –
[/bash]
VLC
Streaming with VLC from the raspberry Pi is fairly straightforward. I was unable to do it lagless, but the cool thing is that you can pick up the stream on an iPad with vlc installed, or on a mac using just the VLC app. No need for brewing.
First install VLC on the RPi
[bash]
$ sudo apt-get install vlc
[/bash]
Then start streaming on the RPi
[bash]
$ raspivid -o – -t 0 -hf -b 1000000 -w 640 -h 480 -fps 24 |cvlc -vvv stream:///dev/stdin –sout ‘#standard{access=http,mux=ts,dst=:8160}’ :demux=h264
[/bash]
To pick up the stream, open the VLC app and pick up the stream with a URL like this: http://192.168.178.91:8160. Here insert the name or IP address of the RPi.
Mjpg-streamer
Mjpg-streamer is also cited as an alternative sometimes, but I haven’t gotten it to work. The installation instructions are arcane and require v4l drivers.

