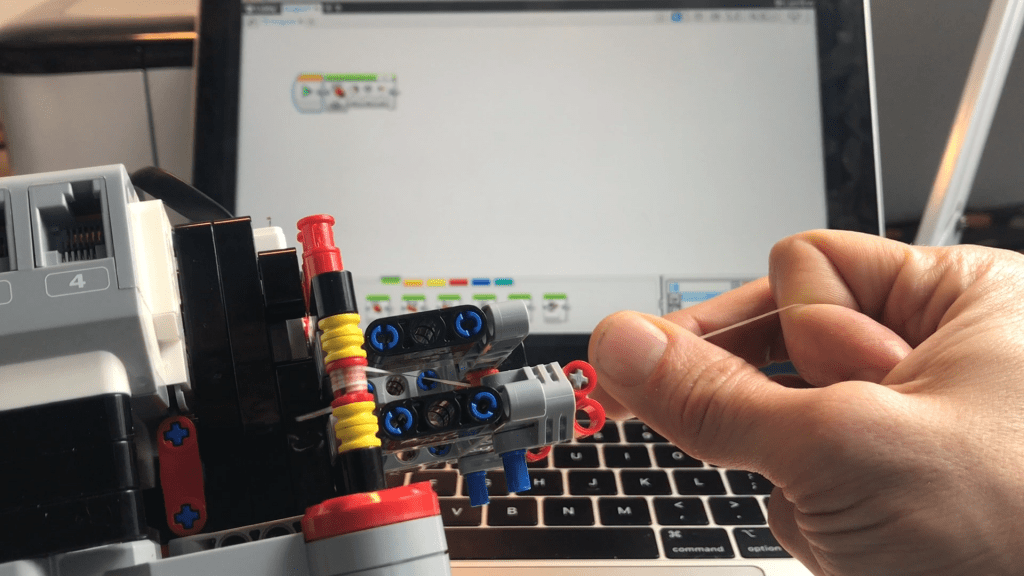
In this post I’m sharing detailed instructions for the most difficult part when building the plotter: adding the dental floss wires. You’ll learn how to fasten the threads securely and make them wind well, without blocking the mechanism.

I think I learned this technique while building one of my very first LEGO Technic sets, the 8050 universal motor set. It was an awesome set back then and maybe it awakened my love for walking robots and remote controlled vehicles. Isn’t it mazing how long the stuff you’ve learned with LEGO sticks?
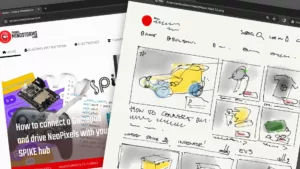
This guide is a companion guide to my building and programming instructions for the vertical plotter.
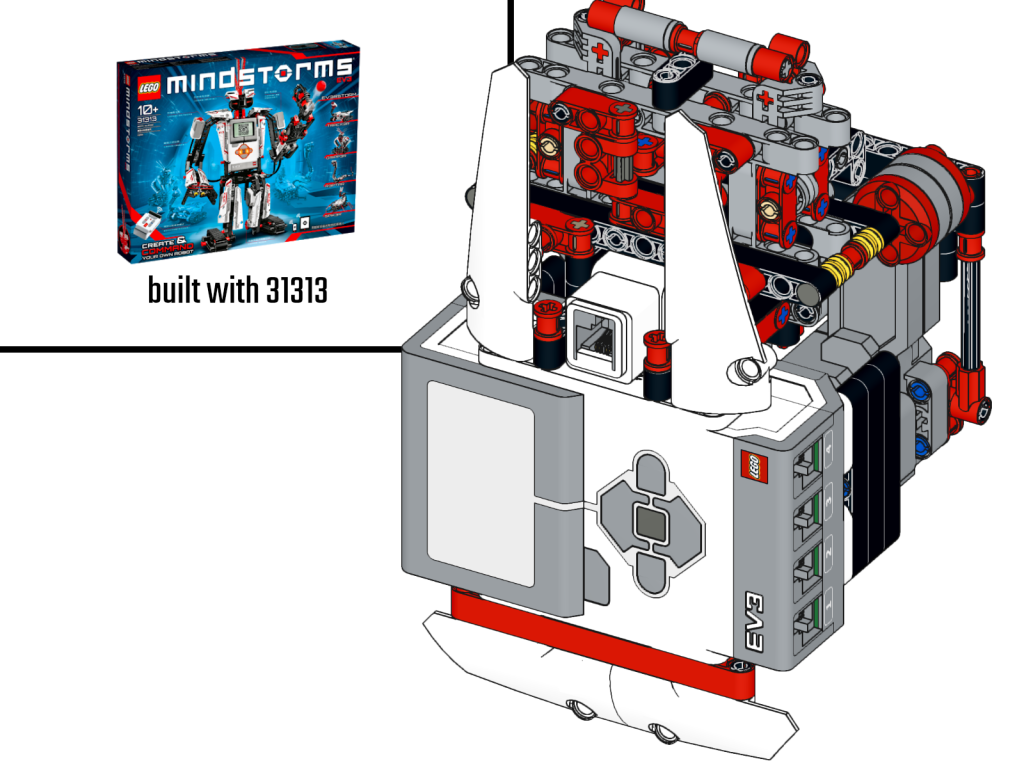
Vertical Plotter L3onardo EV3 Building instructions – 31313 one-kit
Building instructions for making the L3onardo EV3 vertical plotter with a single retail kit of LEGO MINDSTORMS! Two dental floss threads hang the plotter to a wall or door. This vertical plotter MOC needs only a single LEGO 31313 kit. The model is the result of multiple years of tria…
Step 1 – Remove the pen holders
In the first step we make sure to have access to the inside of the vertical plotter by removing the pen holders.
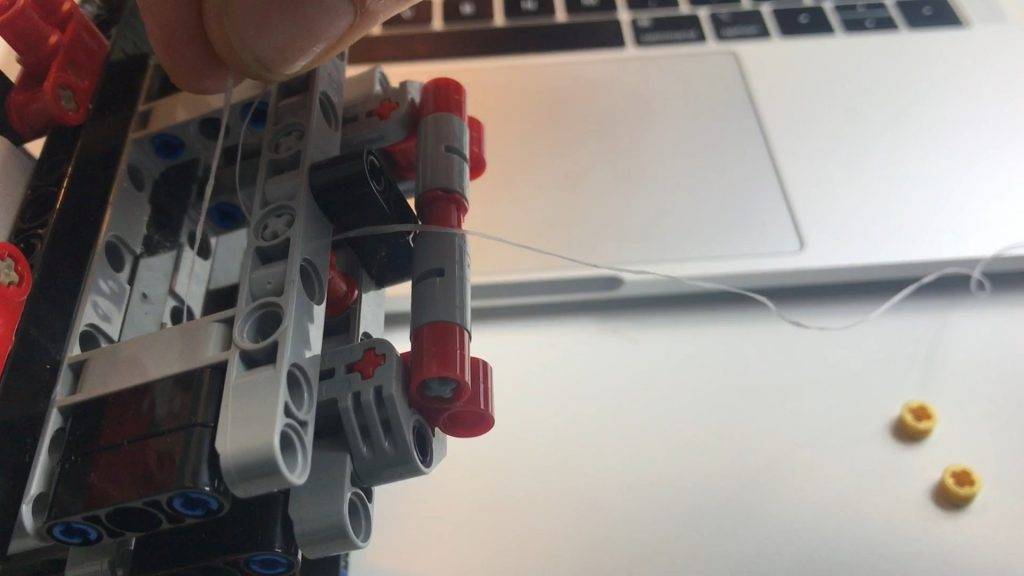
Step 2 -Guide the wire
Next we can guide the wire along and around all spindles and axles.
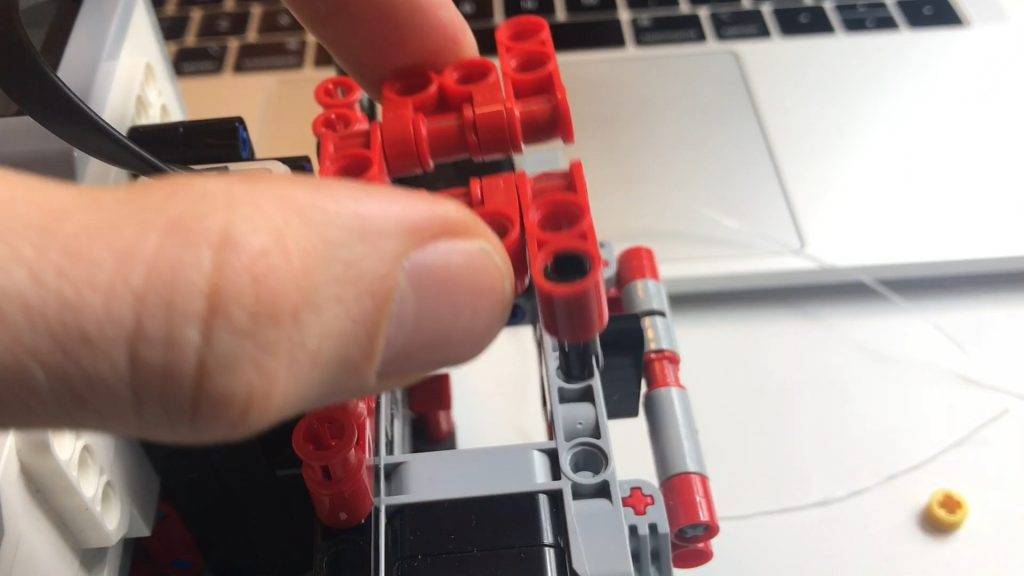
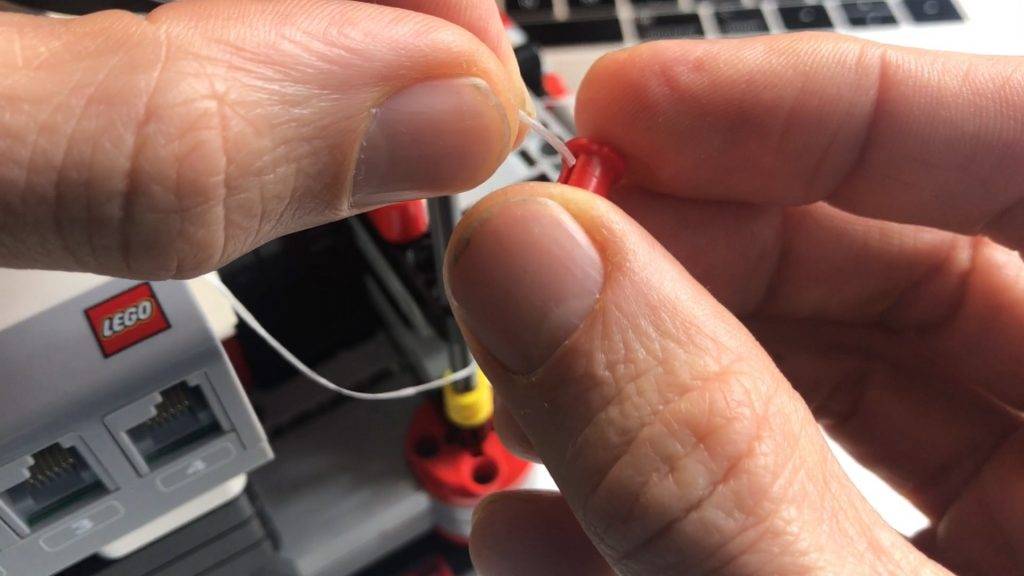
Step 3 – Put the wire through the sides of the bush
Step 4 – Add yellow bushes
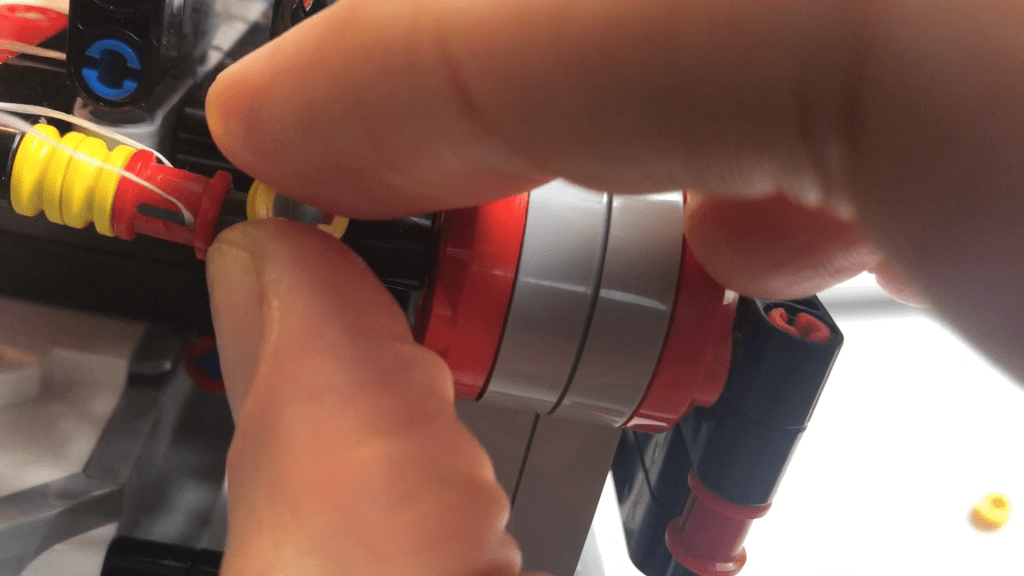
Step 5 – Push the grey axle back
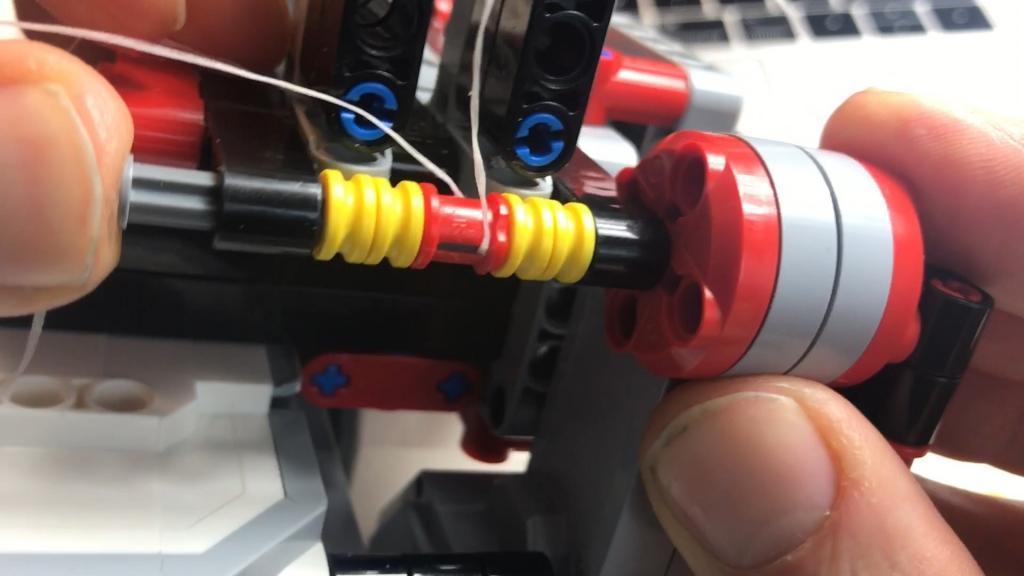
Step 6 – Tighten
Step 7 – Wind the wire
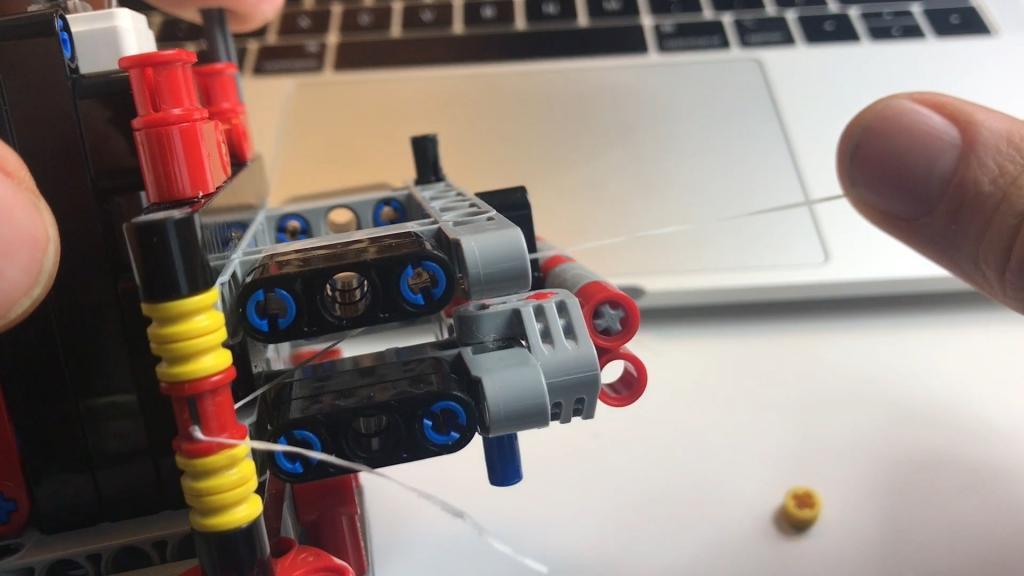
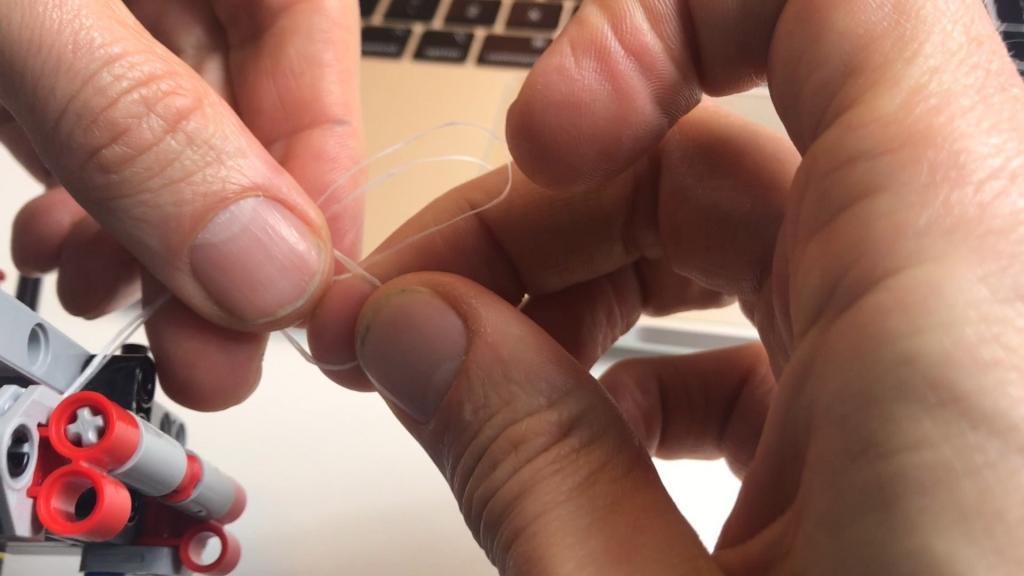
Step 8 – Make the loop knot
In the video below you can see the whole process for one motor from start to end.