In this article, I share what I learned about building a LEGO MINDSTORMS robot swing. You’ll find out how I tackled the building challenges for SPIKE Prime and EV3 Robot Swing. So far I’ve built three models: the SPIKE Prime Swing Monkey and two versions of the EV3 Swingbot. With this story, I hope to inspire you to go and build all the robots that fascinate you. The project has been an addictive puzzle for me. I discovered a lot about balance, timing, and tuning swings.
Building a robot swing has been a long-standing dream for me. I have wanted to do it since my first LEGO MINDSTORMS NXT set. I ordered an expensive inertial motion unit sensor at the time, but I never got it to work. The time probably wasn’t right, or I was missing the building and programming skills. Recently, I tried again and with success. This article explains how I succeeded in building a LEGO robot swing. Let’s start with a video of the end results.
SPIKE Prime robot swing design considerations
What inspired me to pick up the thread of this long time dream was the release of SPIKE Prime. The new LEGO hub featured a built-in accelerometer and a gyroscope. What better way to use it, than with a swing?
The first design consideration was the positioning of the hub on the swing. Since the SPIKE hub contains the gyro sensor, the hub has to be fixed to swing beams or chains. I could use the weight of the hub to ‘push’ the swing, that would mess up the sensor readings.
Next, I considered chain, wire, or beams to attach the swing to the world. I went for beams because chains tend to twist and shake. A twisting and shaking swing messes up sensor readings on your robot and makes it hard to control.
A quick investigation in the SPIKE Prime software showed me that the angles reported in the Scratch vary between -180 and 180. The EV3 sensor used to keep counting over 180. SPIKE jumps from 180 to -179. This hard jump makes control systems difficult. I needed to find a hub position where the robot would not cross the -180/180 degree line in mid-swing. I figured that doing so would add a lot of confusing math in the final program. Using the hub horizontally gave me just the right range of sensor values for a first try. I saved the advanced math and control for the 360 version.
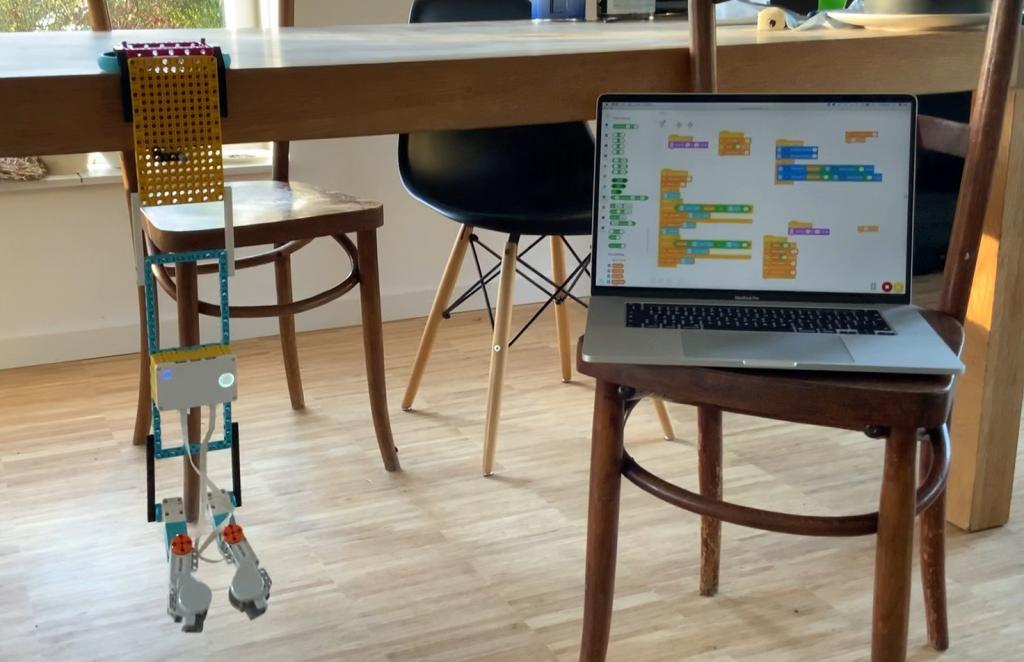
Next challenge: creating a program that actually actuates the swing. From my first tries, years ago, I knew this was not trivial! I would need to develop very precise movements and timing to generate a smooth swing movement.
The physics of the robot swing
I started by going on YouTube to find some explanation of swing physics. One movie by a British professor explained all I needed to get started. The essence: move the center of gravity up during the fastest part of the swing cycle. That was enough for me to build my first swinging robot.
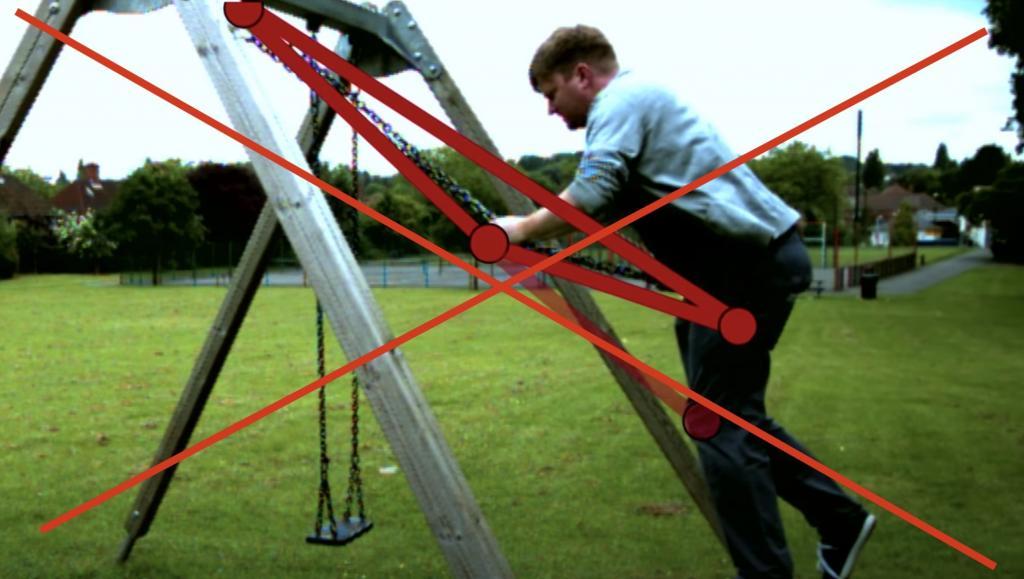
The professor then goes on explaining that pulling your arms and moving up your legs creates a triangle in the chain and moves your center of gravity up too. What I discovered is that that part of the video is actually wrong! I’m working on a separate physics article to explain why. For this article, it’s enough to remember that moving your center of gravity up during the fastest part of the swing motion is the best way to swing harder.
A simple SPIKE Prime robot swing with deadweights
My first prototype was just that: a horizontal SPIKE Prime hub and two NXT motors to function as deadweight. I wanted to build a basic swing as fast as possible to test the principle of moving mass up in mid-swing. This is the Lean Startup approach: test the riskiest assumptions first. If that worked, I would go on and invest more time in a better looking and better working swing. If it didn’t, I would shelve the project again for a few years. In the video below, you can see my first try.
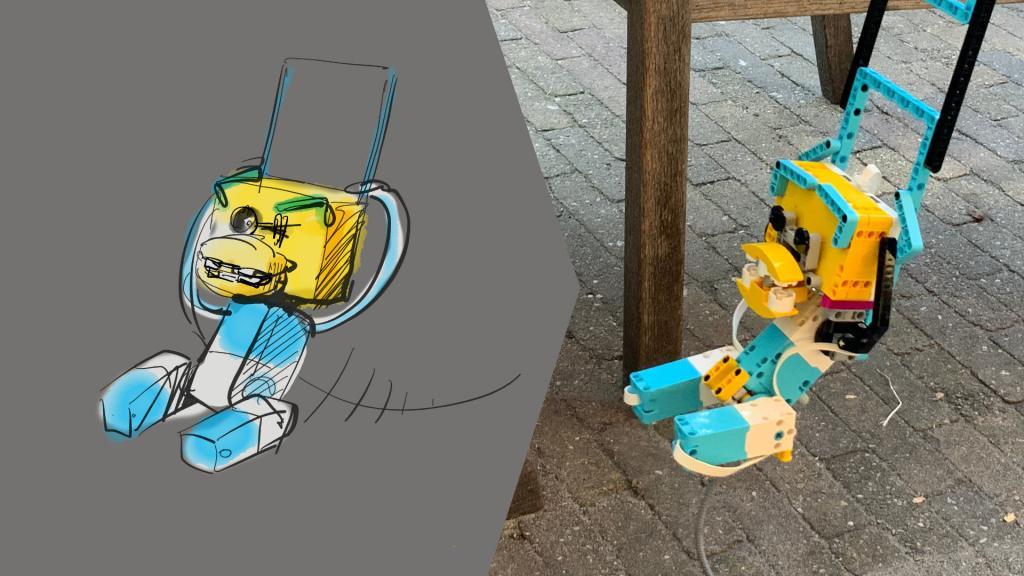
Building the first SPIKE Prime Swing Monkey
When I saw that it worked, I got inspired to build a monkey. The NXT motors looked a bit like monkey legs anyway. The challenge was now to build the whole thing with just one SPIKE Prime kit and still make it look like a monkey. I tried a gazillion different ways to make the monkey face look natural. After a few weeks, I finally found a way to make it look monkey-ish.
In the video below, you can see my first attempt at making it swing. I was still programming with Scratch. At that point in time Scratch was the only choice since LEGO hadn’t released the Python interface yet. I got it to swing pretty high, nonetheless. It even hit the underside of the table!
Make the robot Swing Monkey go 360
When I posted the first video, people on Facebook started to challenge me to make the swing go 360. Initially, I believed I would never be able to do it. But after I slept on it a few nights, I got some ideas and started the work.
It was back to the drawing board because my table mount wasn’t able to accommodate a 360 movement. My initial try was between two garden chairs. They are nice and stable.
The first attempt was reasonably satisfying, but the swing would fail after one 360° turn. I racked my head over a way to correctly detect an over-the-top movement. Ultimately I was able to make the swing go 360 by switching to Python.
The trick was to look at the gyro rate instead of the gyro angle. What I did was timing the monkey body movement relative to the gyro rate. At high rotation rates, I let the body curl up. At low speeds, I let it stretch out. This control regimen was a real breakthrough. It was relatively simple to program, and it was valid both for the regular swing and for the 360° movement! It meant that I didn’t have to detect whether the monkey was going 360 or just swinging.
The Magic Broomstick of 360° swing robots
Now that the 360° swing worked, I found new energy to fine-tune the build and the monkey movement. A sharp commenter on Facebook remarked that my garden chair mount was shaking and moving a lot. He rightly suspected that this was an energy sink. The energy sink meant that the monkey needed to make extra effort to go round. If only I could have a stiff and solid axle to swing around…
While looking around the house for inspiration, my eyes fell on a broomstick. I immediately go to work designing a wheel mechanism that would attach the monkey to the broomstick. After a few tries, I found a wheel configuration that slid right over a regular broomstick, without too much slack. The smoother movement immediately resulted in a much better 360 performance.
It even worked so well that I decided to try and make the swing longer. The longer the swing, relative to the movement of the body, the harder it is to make it swing. My record swing length at the moment is 52 modules – beam holes – between the body hinge and the broomstick. It took quite a lot of tuning of the Python code to get there. Can you beat that record? You can download building instructions and my record code with the link below.
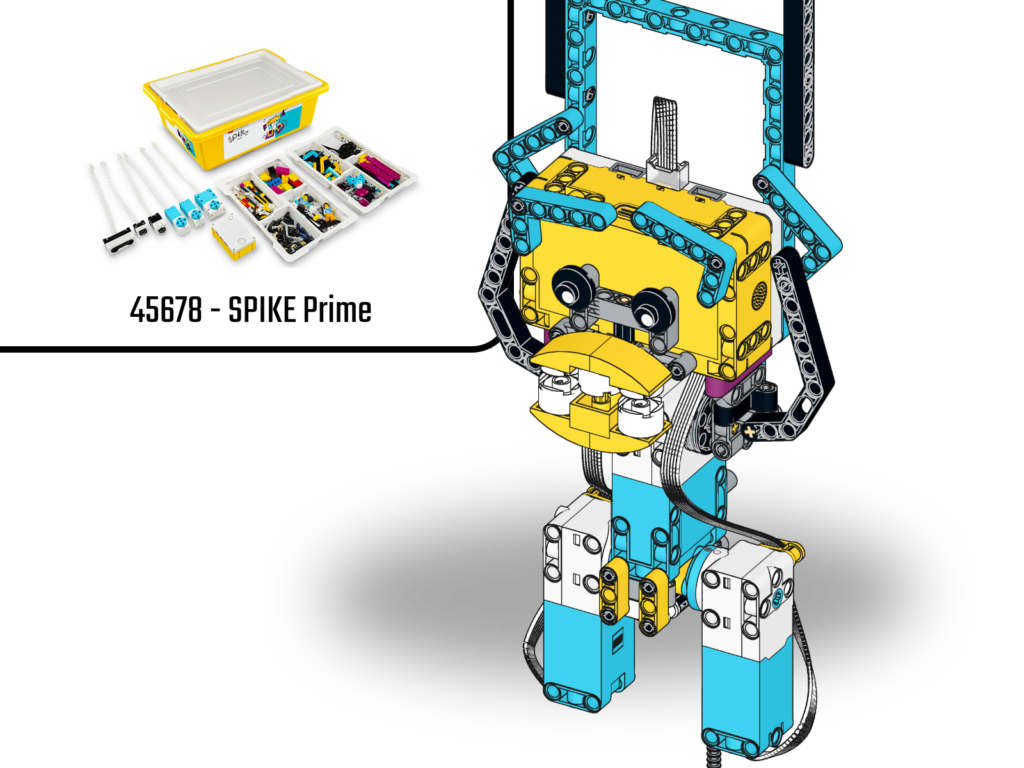
SPIKE Prime Swing Monkey Building Instructions – PDF Download
Includes:
- The under-the-table version
- 360 version with a broomstick
- Python code
- Scratch program
From SPIKE Prime to EV3: the Swing Bot
I was happy with the success and performance of the SPIKE Prime Swing Monkey, but not 100% satisfied. SPIKE Prime was not accessible to everyone, being rather expensive and aimed at educators. On YouTube, people were asking for more EV3 robots. Slowly a plan for an EV3 Swingbot started hatching. This time I would build a proper swing with wires or chains, as was my original dream. The physics of this thing are much more complex, however. One wrong move and the complete swing starts shaking and knotting up.
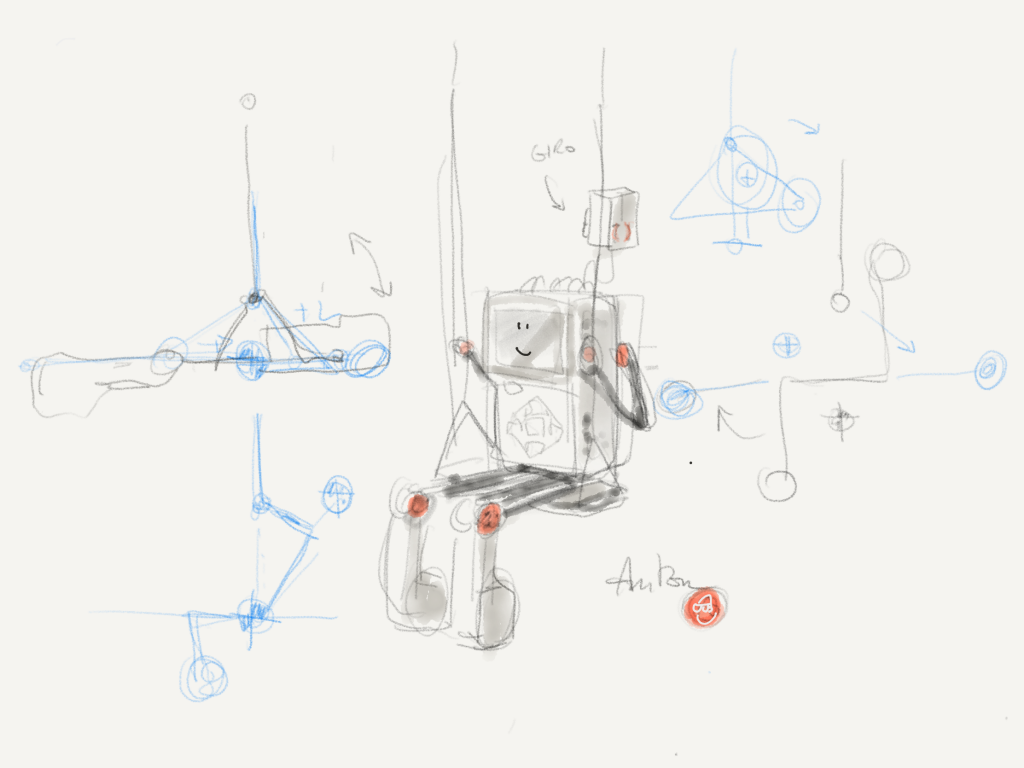
First sketch for the EV3 Swing Bot
The separate gyro sensor in EV3 worked to my advantage in this design. I could use the EV3 Intelligent Brick as moving weight while using the sensor to detect the tilt and rate of the swing as a whole. In the video below you can see the first swinging version of that robot. Can you spot the Magic Broomstick of Swing +3 in the video? I used adjustable anchors to finely tune the lengths of the ropes.
To make the swing robot move, I converted my Swing Monkey code to ev3dev with Pybricks. The conversion was really hard because the synchronization between all motors was much more important than I anticipated. If one motor go slightly out of sync, the whole thing starts shaking. I only made a video of the first working version, not of the million failures before it. And still: the working version was a happy accident. The program contained a bug that actually made the robot swing. Bug or not: I reached the objective of the first stage. I wanted to see if the robot could work before pouring work in clean code and building instructions.
EV3 Swing Bot as a 31313 one-kit
Now that the concept was proven I started working on building instructions and refining the model. I like the challenge of building one-kit models. Limiting myself to the contents of one box is a fun puzzle. For an added challenge, I tried to design a system for attaching the robot to a convenient place in my home. I came up with a pincer system that snaps onto my door frames.
What followed were days and days of tuning and refining the code, trial, and error. I wanted to have a working, clean, and shareable code for my final model. What didn’t help was that the success of the first concept was due to a bug! After much tuning and racking of heads, I finally discovered how to code the movements. The solution was very similar to animating models in 3D or in Apple Motion. I tied movements to external events to synchronize them.
Finally I realized that the model could never be a true one-kit if it was using a gyro. That’s why I adapted it to the contents of the EV3 education set. That set contains a gyro and now I had a true one-kit model. I’m selling the code and building instructions for download because that motivates me to finish projects and wrap them up nicely. I hope to inspire other people to learn and continue where I left off. The creation of code and building instructions is a lot of meticulous work. With the sales of my models I just want to support the hosting of my website and buying some new LEGO from time to time. I would appreciate your downloading the models. Your support motivates me to lovingly craft new robots and building instructions.
Do you want more robot design stories?
Follow me on Facebook and Instagram. I post updates every few days of the project I’m working on. You’ll be the first to know and you can steer the development of the models by reacting to the posts. If you support me on Patreon, you even get all building instructions and code in an early stage. You can then try my robots for yourself, before everyone else!

