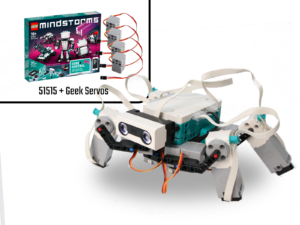
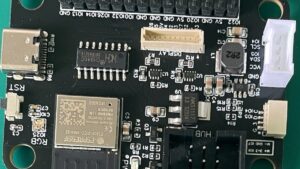
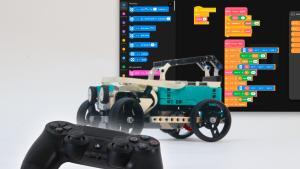
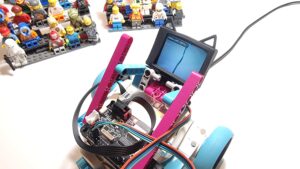
This tutorial shows how to control hobby servos with MINDSTORMS or SPIKE Prime hubs by connecting them to the LMS-ESP32 board. This allows you to add up to 4 extra motors to your Lego Mindstorms hub. An example of such a setup is the four-legged Servo Spider robot that Anton has built. This robot uses four standard lego motors and four extra servo motors in a complex way to achieve a natural movement of the four legs. Before diving into this complex project, you can use this tutorial to learn how to control servo motors.
What are Servo Motors?
A servo motor is a motor that can be positioned at a specific angle. This is in contrast to standard DC motors that continuously rotate. The servo motor deploys a closed-loop control system for adjusting the motor to a specific angle. The motors that we are using typically have three electric connections. A Ground, a voltage, and a data input. The voltage is usually 5V. The data input is a logic 3.3V. A so-called Pulse Width Modulated (PWM) signal is applied to the data pin to operate the motor. This is a square wave of a specific frequency; for servo motors, this frequency is 50Hz. This means the logic voltage goes high and low again 50 times per second during a 20ms period. The duty cycle is the ratio between the high period and the total period. So if the pulse is high for 1500ms and then low for 500ms, the duty cycle is 1500/2000, or 75%. The duty cycle controls the angle of the servo motor.
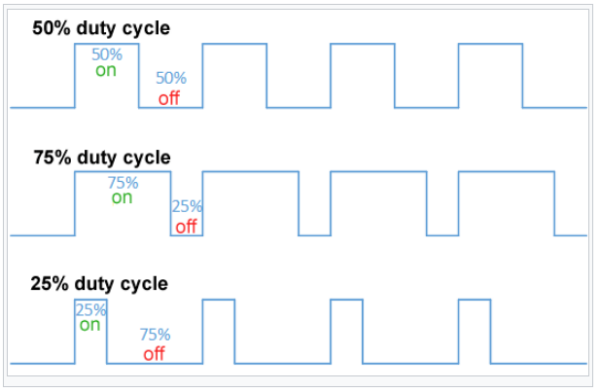
Hobby Servos are peculiar because they typically expect pulse widths between 1000 and 2000 microseconds. They go to their center positions on a 1500µs pulse. This translates to 7,5% PWM. Some servos have a wider operating range, from 600 to 2400 microseconds. And some servos even turn into continuous motors with pulse widths outside that range.
In MicroPython, a native PWM class is present. We use a Servo class that converts from an angle to the related duty cycle for you. The servo.py library can be found in this GitHub repository.
Powering the hobby servos from the MINDSTORMS or SPIKE hubs
The servo motors need a power supply of 5V. On our LMS-ESP32 board, this voltage can be drawn from two sources: 1) from the USB 5V power or 2) from the power delivered by the Lego Mindstorms hub motor output. The USB power supply is directly connected to the 5V output pins on the GPIO header. The motor power supply is fed into a so-called buck convertor (the small PCB that sits next to the ESP32 chip on the LMS-ESP32 board). This efficient voltage regulator converts the 8V motor output to 5V, also connected to the 5V pins on the GPIO header. To get a steady 8V DC from the motor output, the following instruction must be executed on the Lego Mindstorms hub:
import hub
hub.port.A.pwm(100)
which results in a steady +8V voltage on the M+ output of Port A (assuming that port A is the port to which the LMS-ESP32 is connected).
Connecting the servo motors to the LMS-ESP32
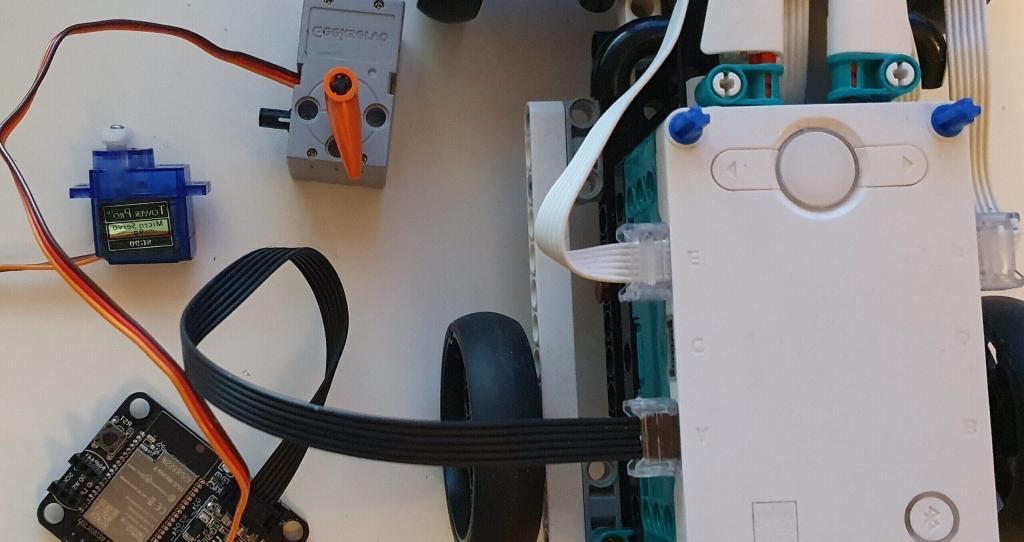
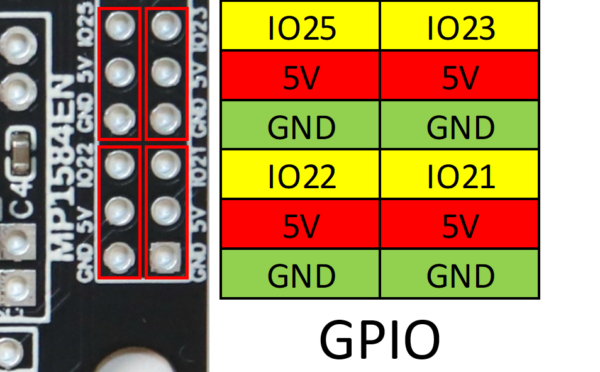
We have four ports reserved for connecting servo motors. Servo motors usually have a 3-pin header with GND, VCC, and Data. GND is typically brown or black, Vcc is red, and data is white or orange. Power is always the middle lead, so you can’t damage electronics by plugging the cable the wrong way.

As shown below, up to four servo motors can be connected to the servo motor position on the GPIO header.
Video tutorial on controlling servo motors from the LEGO MINDSTORMS hub
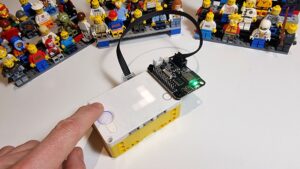
In this video, Stefan shows how to connect servo motors to the LMS-ESP32. Furthermore, he dives into how PWM signals are generated and presents a Servo class to easily control servo motors. Then he shows how you can control the servo motors from the Lego Mindstorm hub by a small example where you can control the servo by using the Left and Right buttons on the lego hub.
Code for controlling hobby servos with MINDSTORMS
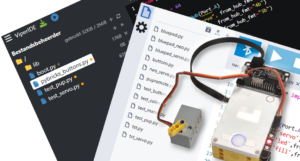
The code used in this tutorial can be downloaded from our GitHub repository. First, download the servo.py library on the LMS-ESP32. That can be done using Thonny IDE or WebREPL. Next, download the following code. You can rename the file main.py to have it execute upon reset of the LMS-ESP32. Alternatively, you can load the module remotely, as demonstrated in Part 4 of this tutorial.
from uartremote import *
from servo import *         # import servo library

servos=[]
for pin in [21,22,23,25]:   # these are the servo pins
    servos.append(Servo(pin,angle=360,min_us=500,max_us=2500))
                            # the GeekServo rotate a full 360 degrees
angles=[0,0,0,0]            # reset the stored angle to 0 for all servo's

def servo_set_angle(nr,angle):      # set servo <nr> to <angle> degrees
    global angles
    s=servos[nr]
    s.write_angle(angle)            # call servo method
    angles[nr]=angle                # store angle

def servo_get_angle(nr):
    return angles[nr]


ur=UartRemote()
ur.add_command(servo_set_angle)
ur.add_command(servo_get_angle,'repr')  # define 'repr' for return value

ur.loop()                           # wait for commands
On the Lego Mindstorms hub, the following code shown below is running. You can execute the code from Thonny IDE or paste the code into the Mindstorms programming app.
from projects.mpy_robot_tools.uartremote import *
import hub
import time

hub.port.A.pwm(100)           # outout 8V on M+ motor output
ur=UartRemote("A")            # LMS-ESP32 board is connected to Port A

while True:		      # repeat
    ack,old_angle=ur.call('servo_get_angle',"repr",0)             # get angle from servo #0
    if hub.button.left.was_pressed():
        ack,joy=ur.call('servo_set_angle',"repr",0,old_angle-10)  # decrease angle of servo #0
    elif hub.button.right.was_pressed():
        ack,joy=ur.call('servo_set_angle',"repr",0,old_angle+10)  # increase angle of servo #0
    time.sleep_ms(20)						  # check 50 times per second
Further experiments and reading on hobby servos with MINDSTORMS
We’re curious to see what you’ve built if you finished this tutorial. Please send us an email or tag us on Facebook or Instagram. Maybe now’s the time to try building your own four-legged Servo Spider. You could also get some inspiration from the articles about synchronizing motors.

