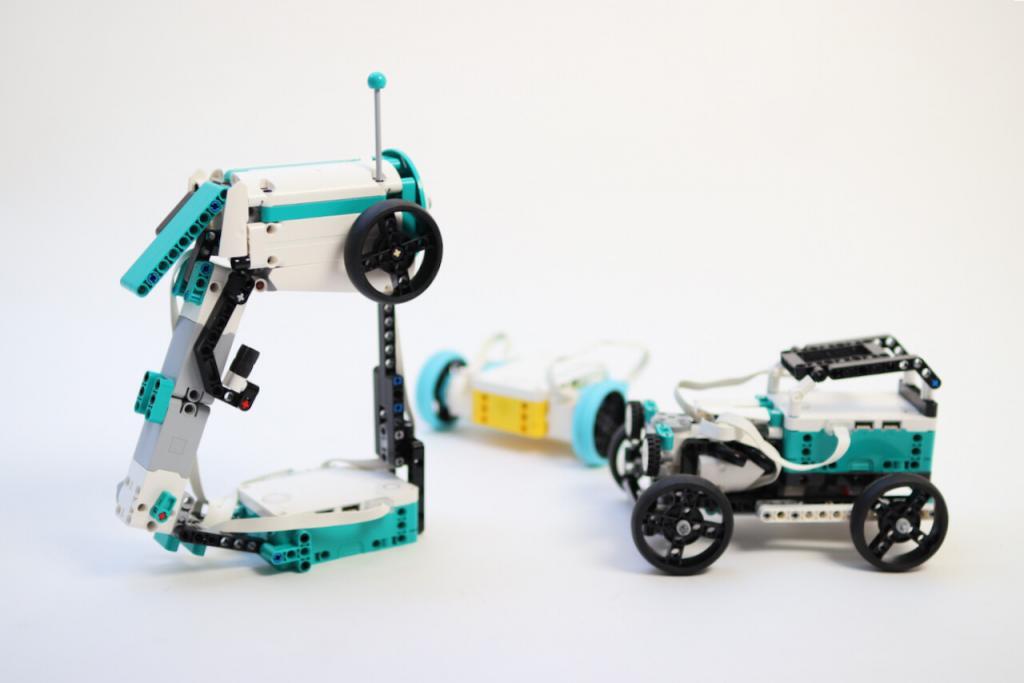
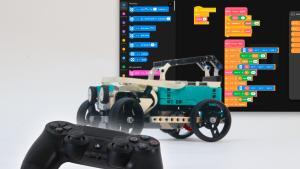
Read on to discover two ways to remote control a car – in this case, a hot rod – with LEGO MINDSTORMS Robot Inventor. The first way is with the default software and some python. The second possibility is with Pybricks.
Options for Bluetooth remote control with LEGO MINDSTORMS
The new SPIKE Prime and LEGO MINDSTORMS hubs feature Bluetooth Low Energy, BLE for short. This is a great communication channel for remote control. Using Scratch or Word Blocks, it is possible to transmit data using the “Hub to Hub communication” blocks. I wouldn’t say I like to use this because it is so laggy, and cars keep bumping into walls. So the only two options I’ll describe here, use python.
The first option is with the default LEGO firmware which requires an extra library of mine to install. The second option is with Pybricks, an alternative firmware. It is less stable and a bit more of a hassle to install.
Programming remote control with the mpy-robot-tools library
I am constantly developing a library with the bits of python that I reuse most. One part of the library is remote control with Bluetooth. Here is the basic remote control code:
from projects.mpy_robot_tools.rc import RCReceiver, R_STICK_VER, L_STICK_HOR, SETTING1, L_TRIGGER

# Create a receiver object. The default name is robot.
rcv = RCReceiver(name="robot")

# In a forever loop, listen for data.
while 1:
    if rcv.is_connected():
        # read the state of all relevant controls
        steer_target, speed_target, trim, thumb = rcv.controller_state(L_STICK_HOR, R_STICK_VER, SETTING1, L_TRIGGER)
    else:
        # return everything to default values when not connected.
        steer_target, speed_target, trim, thumb = (0,0,0,0)

    # Do something with the controls here.
from projects.mpy_robot_tools.bt import RCTransmitter, L_STICK_HOR, R_STICK_VER, SETTING1, L_TRIGGER
tx = RCTransmitter()
found = tx.connect(name="robot")
# Transmit values all the time
while 1:
tx.set_stick(L_STICK_HOR, 50 )
tx.set_stick(R_STICK_VER, 0 )
tx.set_stick(SETTING1, 0 )
tx.set_stick(L_TRIGGER, 0 )
tx.transmit()Remote control a MINDSTORMS car with mpy-robot-tools, step-by-step
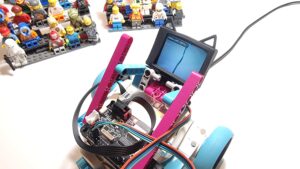
For this tutorial, I will suppose you have two kits of LEGO MINDSTORMS Robot Inventor 51515. I will also suppose you have built the Hot Rod and the Transmitter. The code here also works on SPIKE Prime, but you’ll have to improvise some different models.
If you have only one LEGO MINDSTORMS kit, you can build the HotRod and use the Android App as a remote control. The installation steps are the same. But skip the parts with the transmitter.
-
Product on sale
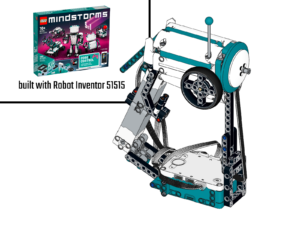 Remote Control Transmitter with Mindstorms 51515Original price was: €5.00.€2.50Current price is: €2.50.
 -
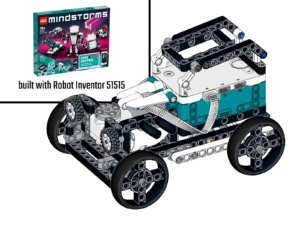 Remote controlled Hot Rod with 51515€5.00
Time Needed : 10 minutes
Follow these step-by-step instructions to run remote control programs on your transmitter and car models.
Get the mpy-robot-tools library
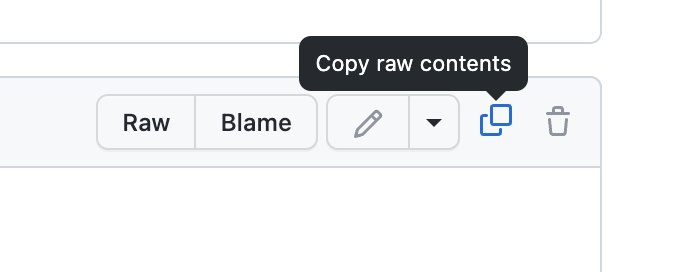
Head over to GitHub, where you can copy the installer code.
Click the copy raw contents button just above the code.Install the mpy-robot-tools library on the transmitter AND receiver
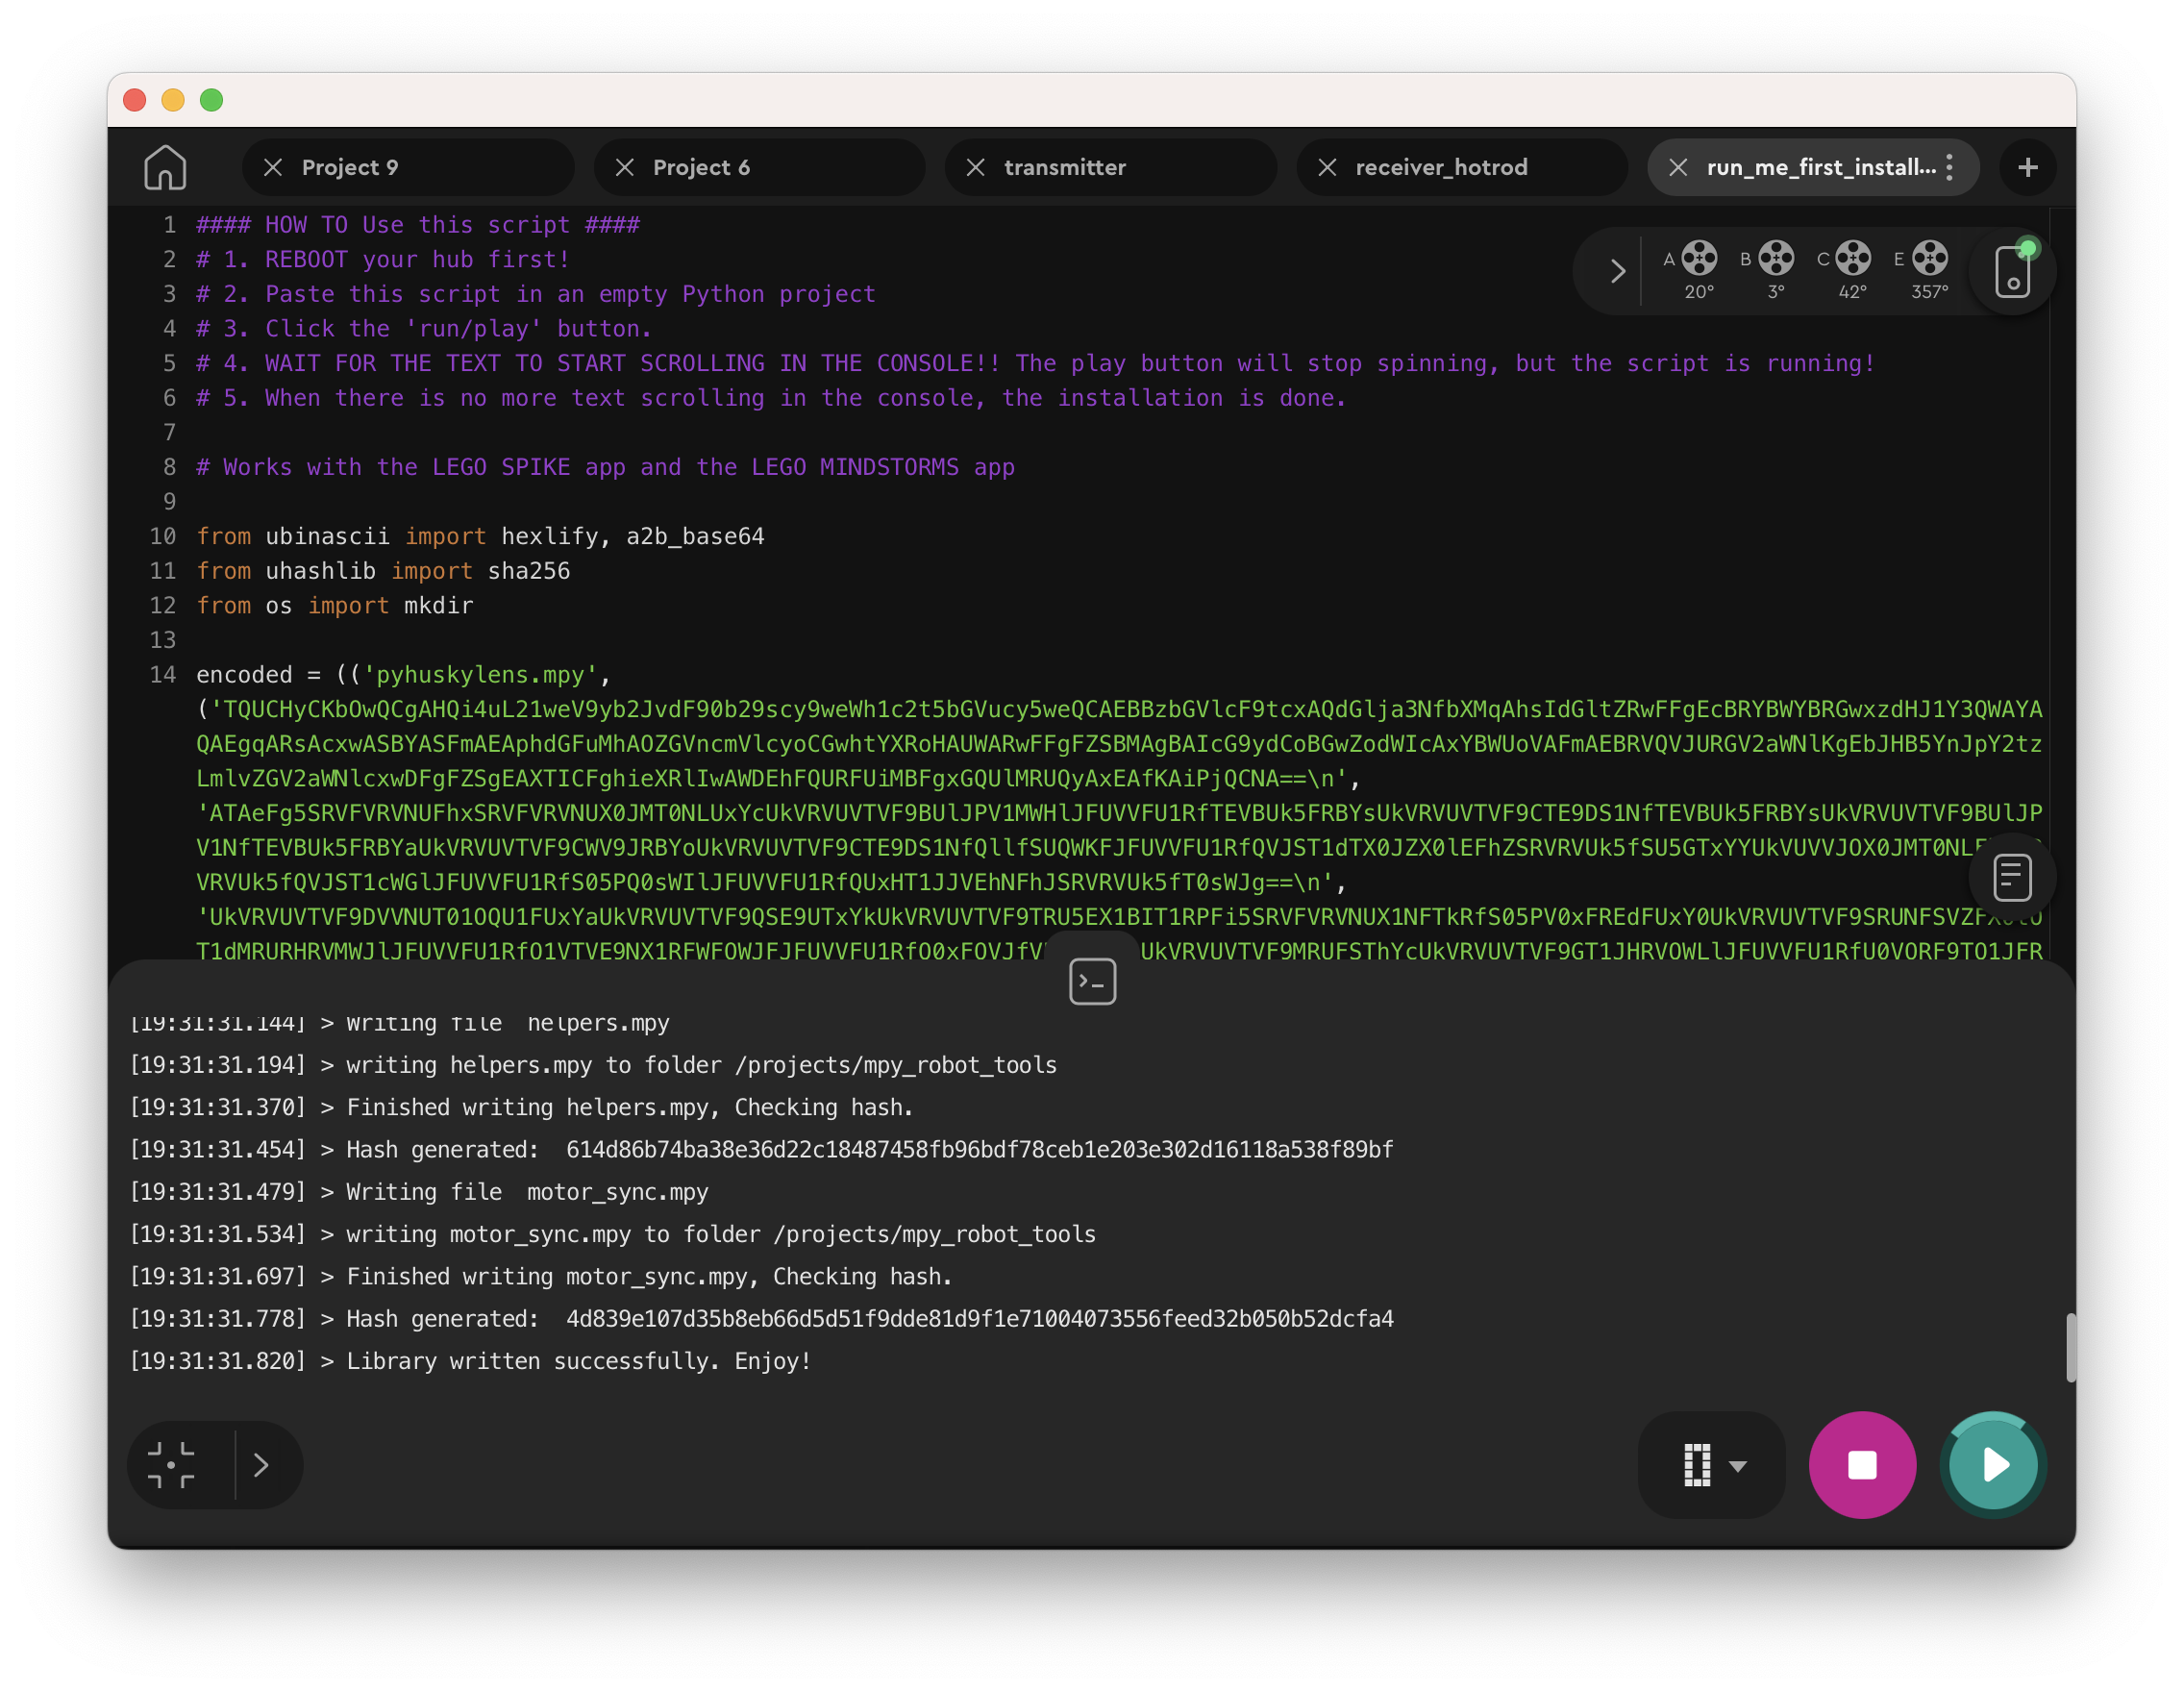
Open the MINDSTORMS app and create a new Python project. Paste the code from the installer inside. Now power down the transmitter and the car, then power them back up. With each model, connect it to the app and run the code. WAIT! The program may seem unresponsive, but the code takes a while to download and run. Check the console to see progress.Run the car code
Head to GitHub and copy the car code using the same raw copy button. Paste it into a new Python project in the MINDSTORMS app and run the code. Disconnect the car and put it aside.
Run the transmitter code
Again, from GitHub, copy the transmitter code. Connect the transmitter to the MINDSTORMS App and create a new Python project. Past the GitHub code in the new project and run it on the transmitter.
Drive the car!
The transmitter searches for a car named “robot” and connects. The car code should be running, of course! You can watch the console in the MINDSTORMS app to see how to search goes. If you are using the Android Mindstorms Remote BLE app, hit “scan” and then hit “connect” if it found the car. Now you can drive!
An alternative method of Remote Control with Pybricks
Pybricks has a beta feature called ‘Radio’ that also allows hub-to-hub communication. I found it a bit less reliable, but it is fun too. To use Pybricks, you need to head to the webpage describing the communication feature and download the beta Pybricks version from there.
Next, open the Pybricks code editor. Under the gear icon on the left, you will find an option ‘Install Pybricks Firmware.’ Click it, and select ‘Advanced.’ Now open the zip you downloaded and flash the beta firmware.
Once you have flashed both the transmitter and receiver hubs, you can use the code below to run your remote control car.
from pybricks.hubs import InventorHub
from pybricks.pupdevices import Motor, ColorSensor, UltrasonicSensor
from pybricks.parameters import Button, Color, Direction, Port, Stop
from pybricks.robotics import DriveBase
from pybricks.tools import wait, StopWatch

hub = InventorHub()

# Import the experimental Broadcast feature.
from pybricks.experimental import Broadcast

# Prepare the hub for sending and/or receiving these topics.
radio = Broadcast(topics=["rc"])

steer = Motor(Port.F)
propulsion = Motor(Port.E)
steer.run_until_stalled(100, duty_limit=30)
steer.reset_angle(200)

while 1:
    data = radio.receive("rc")
    print(data)
    if data is None:
        steer_target, speed_target, trim, thumb = (0,0,0,0)
    else:
        steer_target, speed_target, trim, thumb = data

    steer.track_target(steer_target*-2 + trim)
    propulsion.dc(speed_target)
    if thumb > 50:
        hub.speaker.beep(100,300)
from pybricks.hubs import InventorHub
from pybricks.pupdevices import Motor, ColorSensor, UltrasonicSensor
from pybricks.parameters import Button, Color, Direction, Port, Stop
from pybricks.robotics import DriveBase
from pybricks.tools import wait, StopWatch
# Import the experimental Broadcast feature.
from pybricks.experimental import Broadcast
# Prepare the hub for sending and/or receiving these topics.
radio = Broadcast(topics=["rc"])
hub = InventorHub()
hub.speaker.beep(3)
steer = Motor(Port.E)
steer.control.pid(kp=2000,ki=0,kd=0)
trigger = Motor(Port.C)
trigger.control.pid(kp=4000,ki=0,kd=0)
trim = Motor(Port.B)
trim.run_target(300,0,Stop.COAST)
thumb = Motor(Port.A)
thumb.control.pid(kp=2500,ki=0,kd=0)
TRIGGER_CENTER = 40
THUMB_TARGET = 30
def scale_and_clamp(value, source_min=-100, source_max=100, target_min=-100, target_max=100):
scaled_value = (float(value - source_min) / (source_max - source_min)) * (target_max - target_min) + target_min
clamped_value = min(max(scaled_value, target_min), target_max)
return int(clamped_value)
while 1:
steer.track_target(0)
trigger.track_target(TRIGGER_CENTER)
thumb.track_target(THUMB_TARGET)
# Send out rc data to anyone listening.
# scale_and_clamp() makes sure data is in the range of -100,100 as much
# as possible.
data = (
scale_and_clamp( steer.angle(), -85, 85 ),
scale_and_clamp( trigger.angle()-TRIGGER_CENTER, 18, -18),
trim.angle(),
scale_and_clamp( thumb.angle(), 15, 3, 0, 100 )
)
radio.send("rc",data)
# print(data)
# Limit data rate
wait(15)Pybricks vs. official LEGO Python
You can see that the code for both versions is pretty similar. That is in part because I created a Motor class that emulates the behavior of the Pybricks Motor as much as possible. I think the Pybricks setup is pretty user-friendly. For me, Pybricks wasn’t very stable. But I do enjoy the Pybricks coding interface. Also, Pybricks does not have low-level access to Bluetooth, so my app will probably never work with Pybricks.
Did you like this project? Consider joining my Patreon site. I share most of my models for free with Patrons. I also really appreciate your subscribing to my youtube channel!


Hello, can your mpy-robot-tools library break bluetooth on the hub. I ran into the problem of connecting the hub to the computer via Bluetooth after using mpy-robot-tools library. Also, this library works unstable with android phones, specifically POCO x3pro android version 12.
Technically, it’s not the library that is unstable but the Bluetooth implementation underneath. The LEGO implementation of Micropython does not recover well after a program crash. Also, the ‘autoconnect’ function in LEGO clashes with the library. You need to turn that off if you want to use mpy-robot-tools.
hello, I downloaded the app from the Google store. for some reason, the joysticks are not located in the center. I attached a link to a screenshot of the screen.https://drive.google.com/file/d/1C-UMlDz4CrDgmBy1Ttz_UEsWaUq5Z9FO/view?usp=drivesdk
Yes, that’s an issue. But the remote control does work. I was working on a new version, with react native, but it is a lot of work.