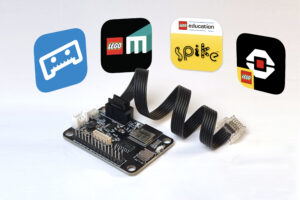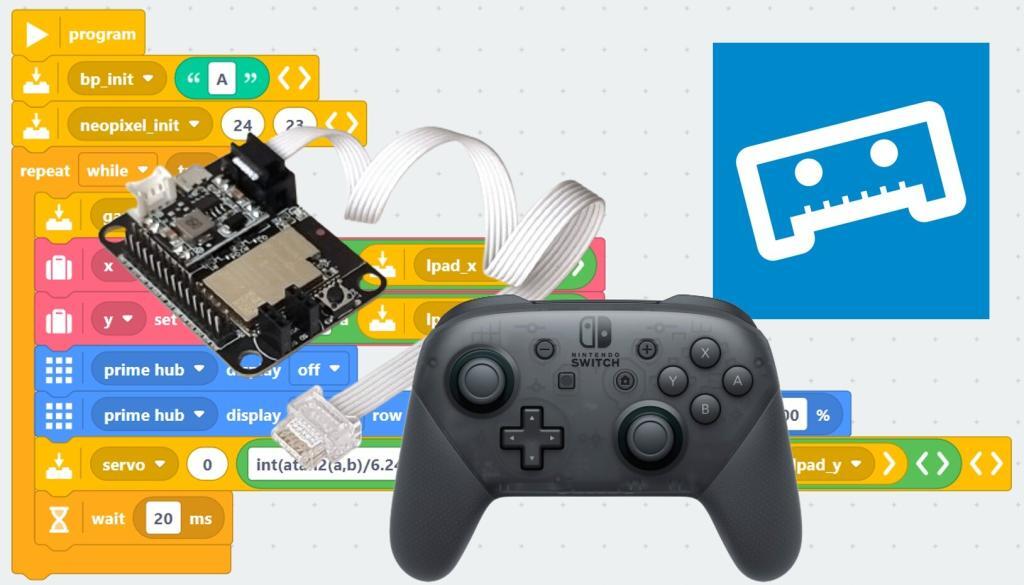
The Pybricks team released a Pybricks Blocks version that allows you to create drag and drop programs for LEGO smart hubs, such as the SPIKE Prime or Robot Inventor hub. In this post, we will show how to use a Bluetooth gamepad with Pybricks Block Coding. In the past, you had to use Python to create lagless remote control with gamepads. Since Pybricks block coding, that limitation is gone: any kid can tweak remote control programs now. The only things you need are an LMS-ESP32 board and any Bluetooth gamepad controller.
Remote control needs to be lagless. The Robot Inventor implementation by LEGO required a PC in the middle and introduced a lot of lag. Pybricks can do brick-to-brick Bluetooth messaging, but that’s slightly laggy too. That’s why we built a Bluepad version for our LMS-ESP32 expansion board that can talk to Pybricks in real-time. You’ll have very precise control over your MINDSTORMS robot. To make this work, you need PyBricks-compatible Lego smart bricks and our LMS-ESP32 board.
Step 1: Flash your LMS-ESP32 board with BluePad32 LPF2
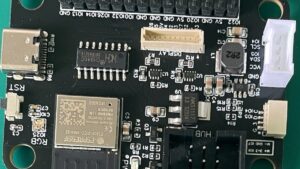
For this tutorial, we assume you are the proud owner of an LMS-ESP32 board. By default, it comes with MicroPython firmware. For this tutorial, we need special firmware that connects to gamepads. You can simply flash it with a browser and a USB wire.
To install the new firmware, link your LMS-ESP32 module to your computer over USB and visit our firmware.antonsmindstorms.com webpage. Choose the BluePad32 LPF2 for Spike3 and Pybricks option, select the correct serial port, and initiate the firmware installation.
Step 2: Flash Pybricks onto your LEGO SPIKE or MINDSTORMS hub
For this tutorial we use Pybricks as it offers more features when combined with Bluepad32. For running Pybricks on your hub, you have to flash the PyBricks firmware on the hub, but rest assured that you can revert to the Lego firmware easily at any time. To flash Pybricks, go to code.pybricks.com and click the gear icon. You are now able to code your hub from whithin the online Pybricks environment. For this tutorial, we will be using the new Pybricks block language. This is a paid add-on. To use the block language, you need to unlock the blocks by purchasing a license with Pybricks. Follow the instructions. After completing this process, connect the LMS-ESP32 to your LEGO hub.
Step 3: Install PUPRemote and Bluepad libraries in Pybricks
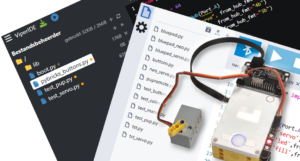
In the Pybricks programming environment, you need to upload our bluepad library first.
- Create a new file in Pybricks (by clicking on the small ‘+’ symbol). Name it
bluepad.py. - Copy the contents of
bluepad.pyfrom GitHub and paste them into the new Pybricks program with the namebluepad.py. This is a library script that helps to read gamepad data and control NeoPixels and Servo motors connected to the LMS-ESP32.
Step 4: Take the BluePad Blocks template as a starting point
- Download the bp_template.py from our github by clicking on the download symbol as shown below.
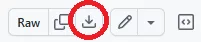
- Upload the
bp_template.pyfile into PyBricks using the upload symbol in Pybricks as shown below:

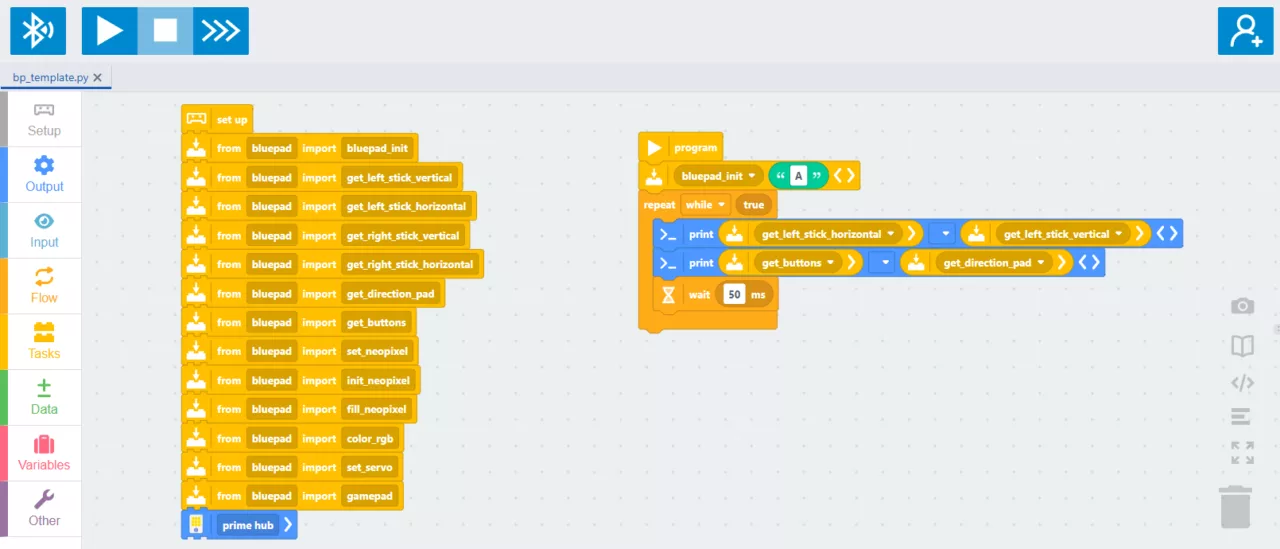
You should see the following block code in your PyBricks IDE.
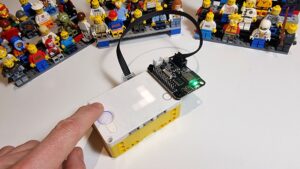
Step 5: Pair your gamepad to the LMS-ESP32 module
Connect your Gamepad to the LMS-ESP32 by pressing the pairing button. This differs per type of gamepad. For the PS4 gamepad, you have the press the PS and share buttons at the same time.
Step 6: Run test code to see if Pybricks receives gamepad data
When you now run the code is the bp_template file, you should see data printed in the terminal in the lower part of the screen.5.46875 15.625
1 2
Here you see on one line the horizintal en vertical positions of the left and on the next line the Buttons and the DPad keys represented as integer values. The joystick positions are scaled between -100 and +100.
Step 7: Driving NeoPixels or Servo motors
The BluePad library also allows you to drive NeoPixels and Servo motors connected to the LMS-ESP32. We provide two example templates for doing so: bp_neo.py and bp_servo.py.
For all available blocks within the bluepad.py library, see the README at our github repo.
Stap 8: Have Fun with gamepad Pybricks block coding
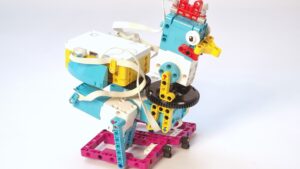
Now it is time to build your favorite robot and start programming it with the Blocks PyBricks. Equip your robot with NeoPixels or Servo Motors and connect a Bluetooth gamepad. Take the template or one of the example files as a starting point. For background information and a description of all pybricks gamepad blocks, we made a separate post (which still needs to be updated for the new bluepad library and frmware). Until then, we refer to the README at our github repo.
Watch the Pybricks gamepad Blocks in action
You can see the usage of Blocks PyBricks in the video tutorial. Note that this video uses an older implementatation of our Bluepad library. Therefore, the code shown in the video will not work with the new library and the newer bluepad32 firmware. An update of this video tutorial will be available soon.