The iconic sweeping red light from the Knight Rider TV series is a memorable visual effect that has inspired many LED projects. In this article, we’ll explore a piece of Python code that replicates this effect using NeoPixel LEDs.
For those of you too young to have known Michael Knight, here’s the intro to the hit series, including the LED radar in front of the car. Back then, LEDs weren’t so bright, so they had to film the opening credits at dusk!
The KITT scanner on a LEGO technic car
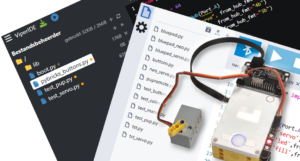
To create the radar effect, I connected 6 NeoPixel RGB LEDs to an LMS-ESP32 running MicroPython. Did you notice the real KITT also has 6 LEDs in front? The MicroPython code on the LMS-ESP23 leverages the np_animation library to create a smooth, sweeping animation reminiscent of KITT’s scanner. np_animation is part mpy_robot_tools. It’s my collection of hand robotic routines that I maintain on GitHub. In the below video, you can see the result. Read on to find out how the code works.
Understanding the Code: knight_rider() function.
The core of this animation is the knight_rider function. This function generates another function that calculates the color values for each LED with baked-in period, color, and width. Calling the resulting function, with time as an argument, creates the sweeping effect. Below is how the function is defined in the library.
def knight_rider(period=2000, width=6, color=grb.RED):The function has three optional keyword arguments as parameters.
- color: The color of the LEDs when they are at their brightest. By default, it uses
grb.RED. - period: The duration of one complete sweep cycle in milliseconds. Default is 2000 ms (2 seconds).
- width: The number of LEDs involved in creating the sweep effect.
Brightness Function to light more than a single LED and create a soft running glow
While you don’t need to understand the inside of the functions in the library to use them, you might be interested in their inner workings. Inside the knigh_rider() function, I start by creating a new internal function to calculate the brightness of each LED based on its position relative to the center of the sweep. In Python, you can define functions within functions!
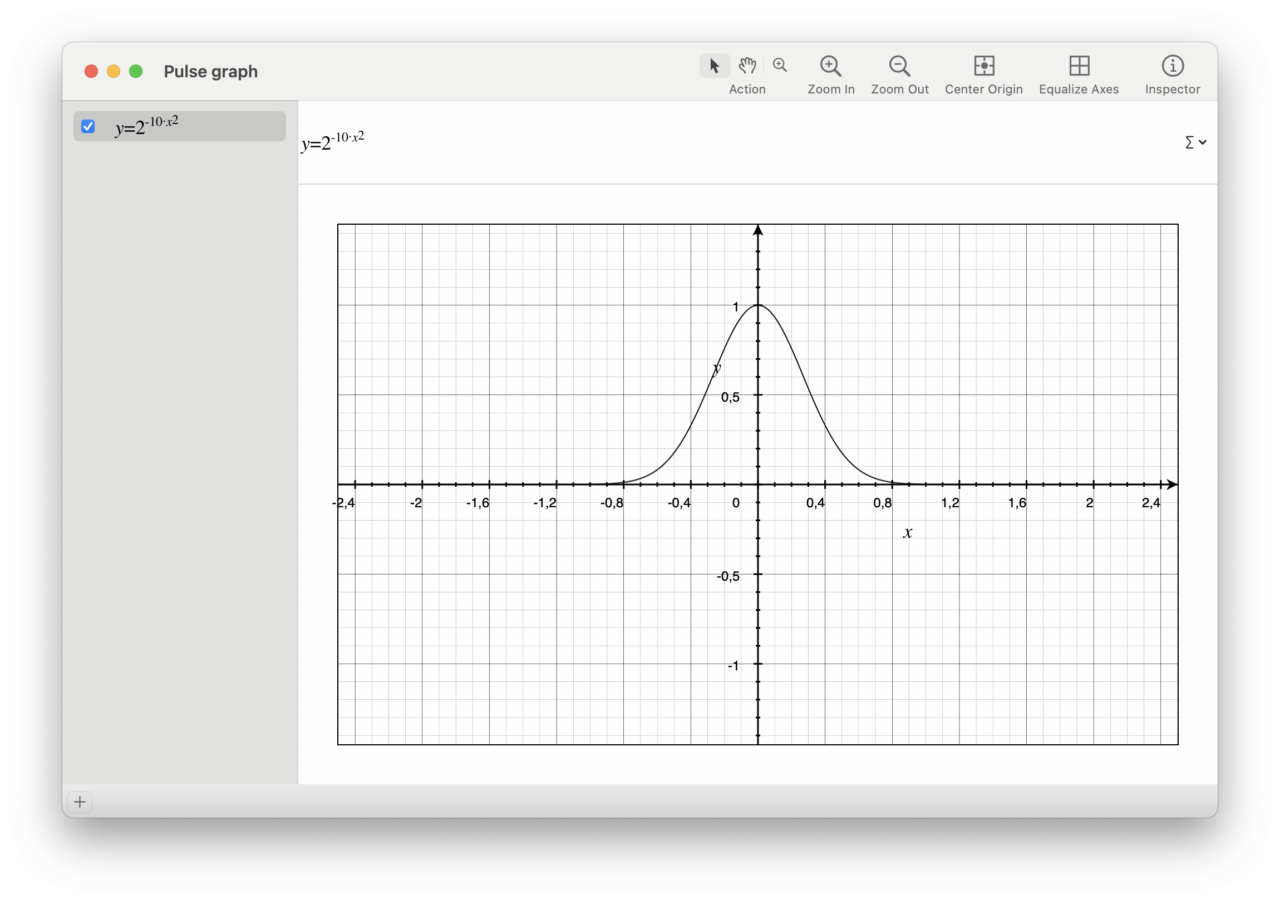
def b(n, center):
    # Brightness function, gauss-like with a max of 1 around center
    return 2**(-1.5/width*(n-center)**2)
The function has two parameters. center defines the x-coordinate of the peak value. Later we will move the center around, like a radar. n tells the function where to pick a value on the x-axis to read the brightness. Width is the number of LEDs in the array. Before programming the function in python, I played around with it in the Grapher app, to ensure the function had the right shape. In the screenshot below, y stands for brightness and x stands for n. I replaced -10 with -1.5/width.
Building the output function
Now it’s time to build the function that we will return as a result of the knight_rider function. Yes! In Python, functions can have other functions as their output! Our resulting function will return LED colors with the parameters of color, width, and period ‘baked in’. The only argument for our output function is time in ms.
def func(time, **kwargs):
    # Bounce the center from left to right with a sine function
    center = 0.5*(sin(time * 2 * pi/period)+1)*width
    # Return brightness adjusted color for each led.
return [bytes([int(b(n,center)*c) for c in color]) for n in range(width)]- center: Determines which LED is at the peak brightness using a sine wave over time.
(sin(t)+1 ) * 0.5creates a number that varies between 0 and 1. - return statement: Adjusts each LED’s brightness based on its distance from the center and returns their respective colors. I’m using a nested list comprehension. It is shorthand for looping over range of numbers from 0 to the total array, and for each number in that array create an rgb value with the correct brightness, depending on the current time in ms. To create that rgb value I use an inner loop that scales the r, g, and b values in the color bytearray by a factor of b()
Animating RGB LEDs in a Python tight loop
Why all the convoluted functions returning other functions? The reason is that I want to keep my main control loop as clean as possible. Before starting the loop, I attach a function to a subselection of LEDs and inside the loop update them as often as possible.
A single control loop is a simple and powerful way to control a robot. It is a forever loop of code where you check sensor input and power motors and lights accordingly. Unlike parallel code, the single control loop gives you tight control over timing.
But what if you want multiple things to happen at the same time? To time things carefully is hard because the length of each loop can vary. A Wi-Fi message might have come in, or a sensor might have hitched. That why the first thing we do is check our watch. In MicroPython, the watch is called ticks_ms(). It is a millisecond counter since the chip has started.
Using ticks_ms() the main loop looks like this:
from time import ticks_ms

[...]

while True:
    npa.update_leds(ticks_ms())
That is nice if we want to stretch or pause time. In situations where that is not necessary, I built the update_leds method such that it can also use an internal timer. The main loop then looks like this.
while 1:
    npa.update_leds()
To bring this animation to life on your Neopixel strip you can simply use this program.
- Import necessary modules:
from np_animation import *- Define your animation functions matrix. With it you attach functions to a selection of the LEDS in the strip. Here we attach a default knight_rider function, with width 6, color red and period 2s to the first 6 leds in the array. Note that the first led has index 0!
funcs = [
    [ [0,1,2,3,4,5], knight_rider() ],
]- Create an instance of
NPAnimationwith that function matrix. I plugged it into pin 23 of the LMS-ESP32 micropython board.
npa = NPAnimation(funcs, pin=23)And this is the full program
from np_animation import *

funcs = [
    [ [0,1,2,3,4,5], knight_rider() ],
    ]

npa = NPAnimation(funcs, pin=23)

while 1:
    npa.update_leds()
Conclusion
With just a few lines of Python code, you can recreate one of TV’s most iconic visual effects using NeoPixel LEDs. This project brings nostalgia and serves as an excellent introduction to working with programmable LEDs and animations in Python.
Please don’t hesitate to tweak parameters like period, width, or even colors to customize your Knight Rider animation further! Be sure to check the library for other fun animation routines. Here’s a video of light effects on the extreme off-roader, where I used the np_animation library in full.