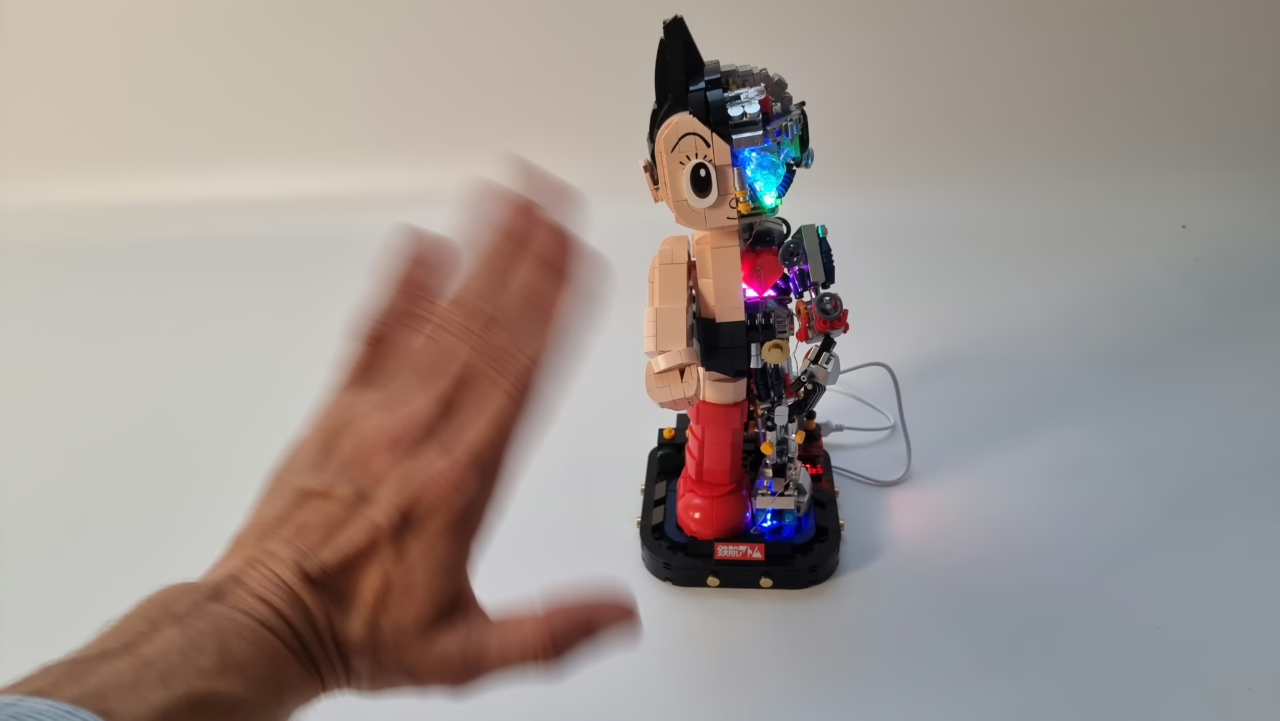
I wanted to add lights to my Astro Boy model, but it bothers me if the lights are on all the time. For this reason, I added a radar sensor to Astro Boy, so he only lights up when I wave at him. In this article, I share the code and building procedure I used to create the interactive lighting of Astro Boy with RGB LEDs.
Let’s start with the result! In the video below, you can see how I wave at Astro Boy, and he responds by turning the LEDs on. This function is great for your lit LEGO models. With the radar proximity sensor, people can enjoy them when they take a closer look, but you can save energy when nobody is watching. The cool thing is that the radar sensor looks through the LEGO model. This means you can hide inside or behind the model.
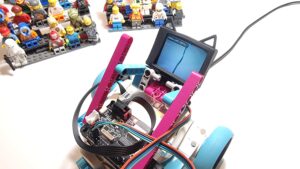
Hardware set-up for lighting brick models with a radar proximity sensor
Here’s a list of the hardware I used.
- A brick model. I used a non-LEGO Pantasy Astro Boy because it was a gift that I had to find a purpose for.
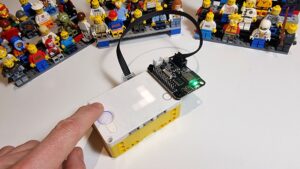
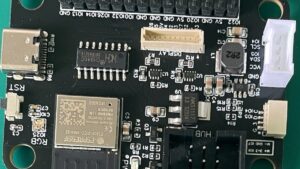
- A microcontroller. I used an LMS-ESP32 board because it has the shape of a 5×7 frame and easy to attach to your model.
- Some RGB LEDs. I used the Technic shaped RGB NeoPixel LEDs because they are easy to attach to a model.
- A powerbank or power source. You could power the LMS-ESP32 from a phone charger. I used a power bank.
- A radar proximity sensor. I used the 5.8GHz Microwave Radar Module. It also was a gift and I like it’s simplicity: you can adjust sensitivity with a screw.
Programming the microcontroller for interactive lighting: radar
The radar part of the code is fairly simple. When the radar senses motion and the pin value goes low, I turn on the light and set a deadline for turning the lights off.
lights_out = 0
while True:
    if p.value() == 0:
        # There's movement, let's set a new deadline for lights out
        lights_out = ticks_ms()+4000
    if ticks_ms() < lights_out:
        # There is an active deadline. Code that turns lights on goes here.
        pass
    else:
        # No active deadline. Turn everything of.
        pass
Programming the RGB LED animation
To animate the LEDs, I used my np_animation library. With that library, you can attach time functions to a selection of your LED strips and show different patterns for each group. In the case of Astro Boy, I wanted to show a blue and green pulsing eye, a heartbeat, pulsing thrusters in the foot and a knight rider-like pulse in the lab equipment. The code below shows how I defined the patterns in func_matrix. The main loop updates all led colors after motion was detected.
from np_animation import *
from machine import Pin
from time import ticks_ms

HEARTBEAT = [
    (0,   [grb.RED]*3),
    (100,   [grb.OFF]*3),
    (200,   [grb.RED]*3),
    (900,	[grb.OFF]*3),
    (2000,	[grb.OFF]*3),
    ]

func_matrix = [
    [ [0,1,2], hue_shift(period=3000) ],
    [ [3,4,5], pulse(rgb.BLUE, period=2000) ],
    [ [6,7,8], keyframes(HEARTBEAT)],
    [ [9,10,11], pulse(rgb.BLUE, period=3000, min_pct=50, max_pct=100) ],
    ]

npa = NPAnimation( func_matrix, 21 )
p = Pin(22, Pin.IN) # Radar sensor

# Time when lights should turn off, because of lack of movement
lights_out = 0
while 1:
    if p.value() == 0:
        # There's movement, let's set a new deadline for lights out
        lights_out = ticks_ms()+4000
    if ticks_ms() < lights_out:
        npa.update_leds()
    else:
        npa.leds_off()
What models will you light up?
I’m excited to see videos where you apply the libraries and ideas of this model to your models. Be sure to share them on social media and tag @antonsmindstorms!
Check my Astro Boy review on YouTube


Nice project. Where can I get the LEDs?