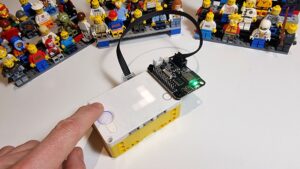
When we launched the LMS-ESP32 v1.0, we were overwhelmed by the enthusiastic response from the community. The board sold out quickly, proving that there was a high demand for a versatile and powerful microcontroller tailored for robotics and IoT applications. This success motivated us to develop an upgraded version, and today we are thrilled to introduce the LMS-ESP32 v2.0!
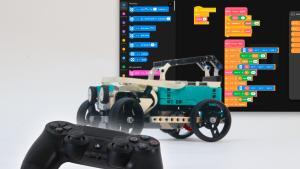
We built the original board because we wanted to integrate LEGO with third-party electronic devices from our Arduino and micro:bit projects. We used hobby servos to build spiders, AI cameras to follow lines, and connected our gamepads for even more fun. With the feedback and the production experience we gained, we developed the next iteration. It’s better and packed with more features. Read on to discover what’s new!
New Features in LMS-ESP32 v2.0
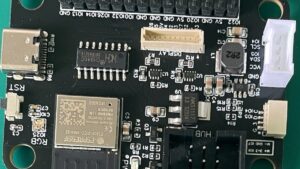
USB-C Connectivity
One of the most requested features was a more robust connection interface, and we’ve delivered by replacing the micro USB with a USB-C port. This change ensures a more solid connection with a modern standard.
Optimized Power Circuit in LMS-ESP32 v2.0
We’ve redesigned the power circuit for more efficient voltage conversion, providing greater stability when switching between USB power and robot power supplies. Moreover, this redesign has increased the hub’s protections against external power, ensuring your projects run smoother with fewer reboots or brown-outs.
Enhanced Connectivity Options on the new LMS-ESP32 board
We used an ESP32 with a smaller footprint, so we gained space to add additional connectors for expanded versatility:
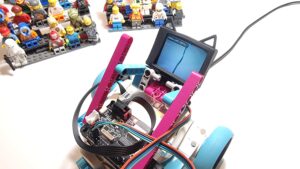
- 10-pin JST-SH 1mm Display Connector: Now you can easily connect SPI touch screens for interactive projects.
- STEMMA QT / Qwiic JST SH: Alongside the existing Grove connector, this new connectors makes it easier to integrate various I2C sensors and modules.
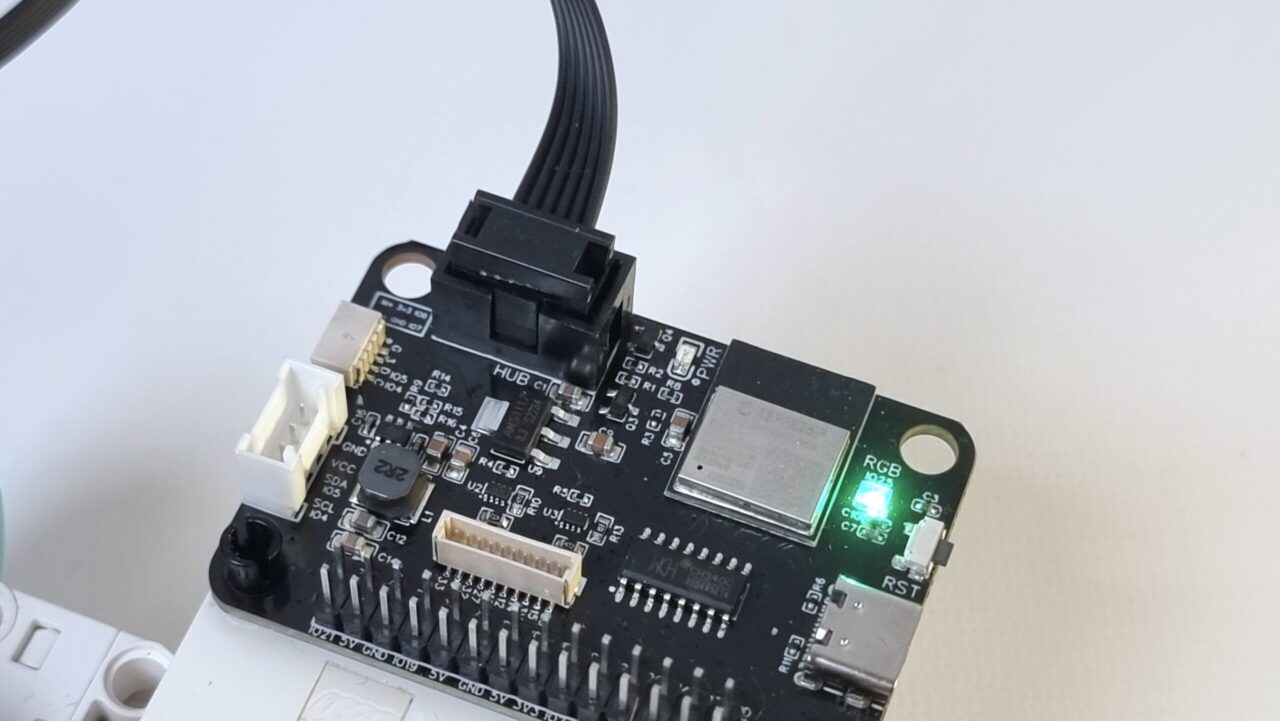
Onboard RGB LED
A big feature request was: can I program something on the board without any device connected and see the result? Now you can! An onboard RGB LED has been added for quick status checks of your program, making debugging simpler and more intuitive.
Here’s an idea for your first MicroPython program. Try to make different colors by changing the rgb values on line 6.
from neopixel import NeoPixel
from machine import Pin

np = NeoPixel(Pin(25), 1)  # One LED on IO Pin 25

np[0] = (0, 255, 0) # set pixel 0 in buffer to green, full brightness

np.write() # write buffer to led

print("Hello, world. How do you like my green light?")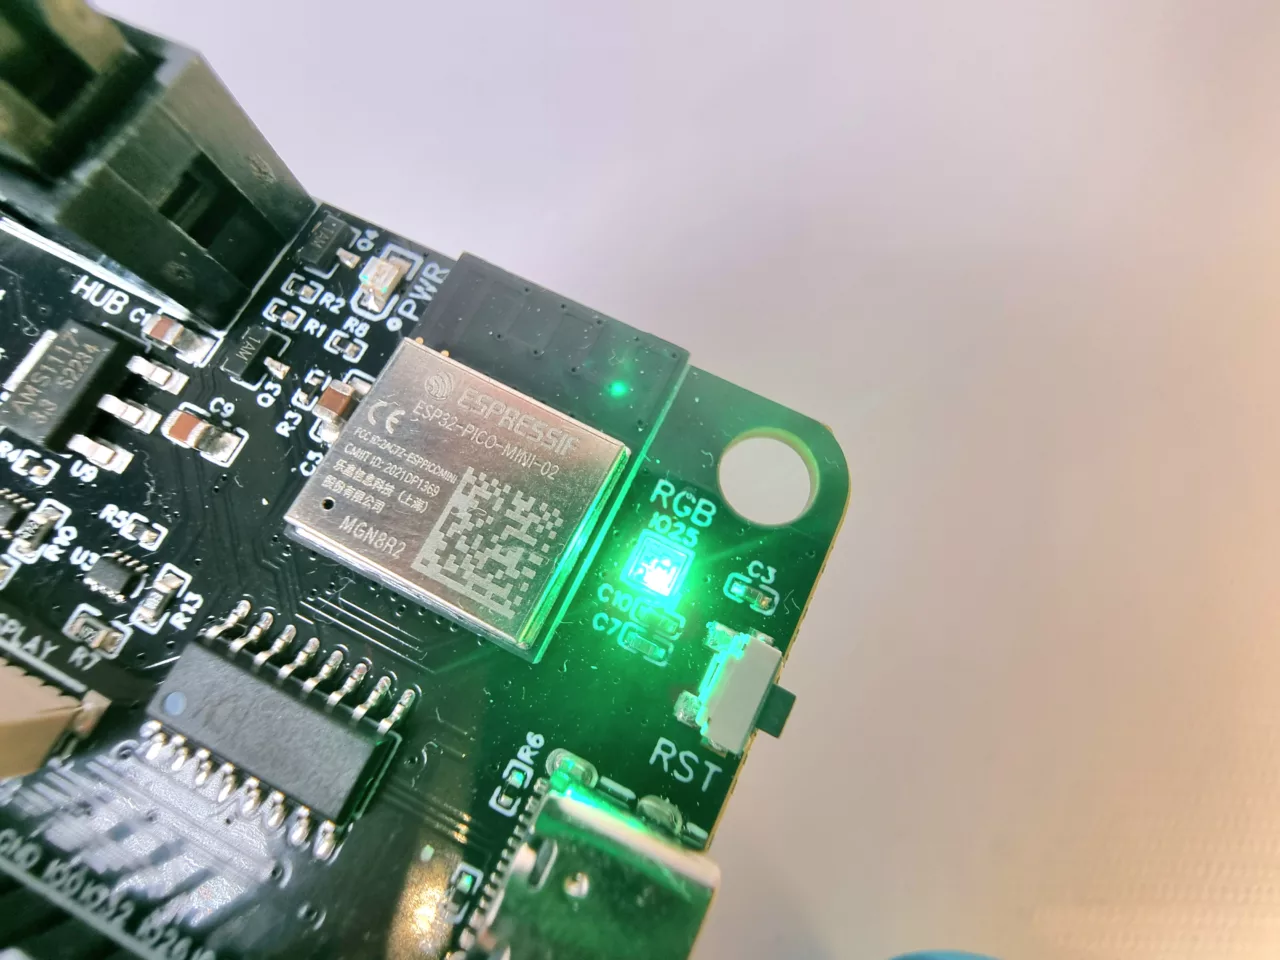
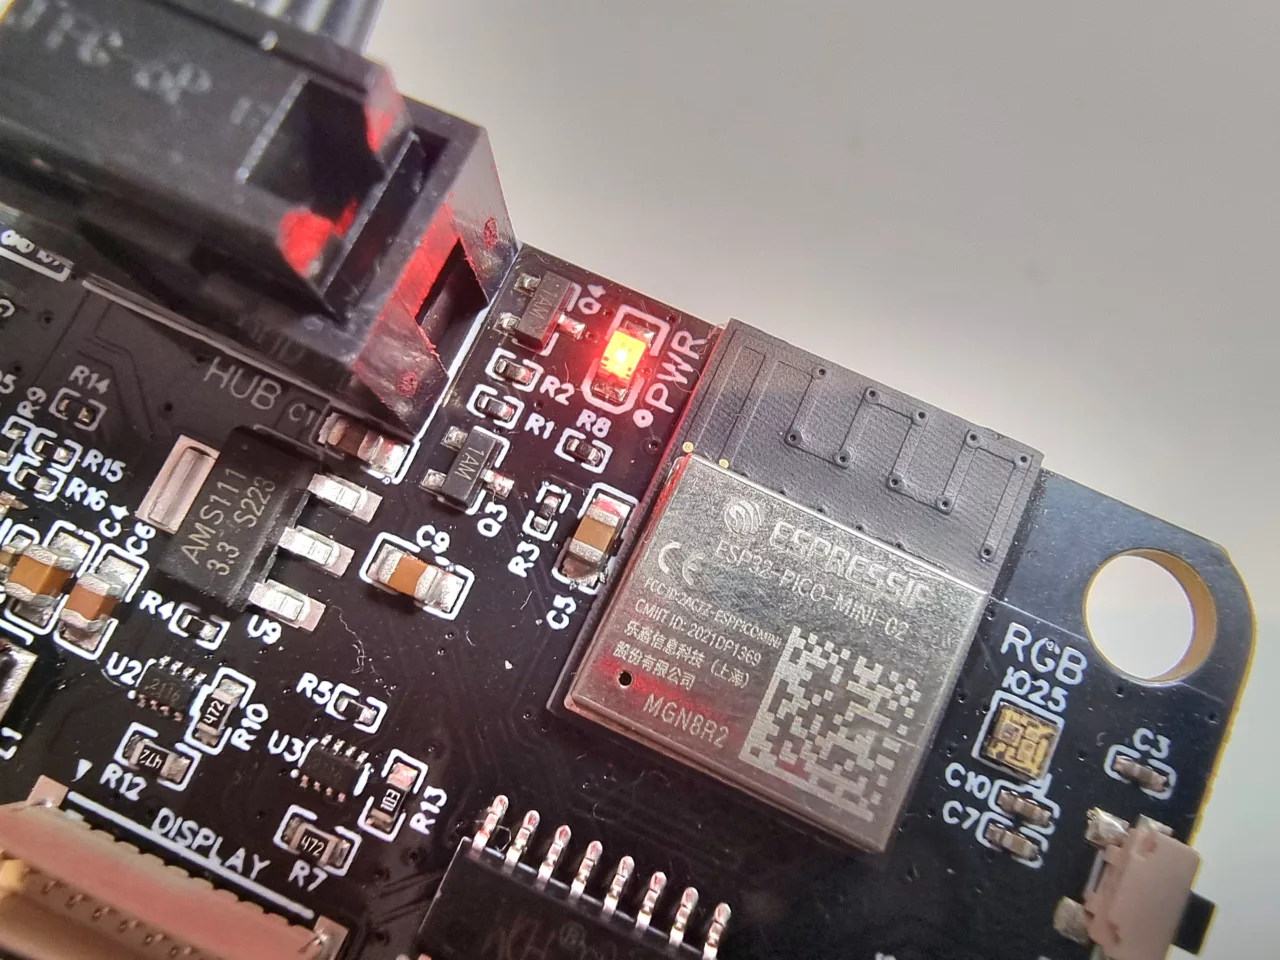
Power LED Indicator
A new power LED shows if the 5V/high-power rail is powered on. If your servo’s, LEDs or other high-power devices fail to boot, check the power LED!
Important Features That Are Still Here
While we’ve added many new features, we’ve kept all the essential functionalities that made version 1.0 so popular:
- Onboard WiFi & Bluetooth: Enjoy seamless connectivity with built-in WiFi, Bluetooth Classic, and Bluetooth Low Energy (BLE).
- 5×7 Frame Shape: The board retains its compact 5×7 frame shape, making it easy to integrate into various projects.
- Programmable in MicroPython & Arduino: Flexibility in programming remains a cornerstone of our design philosophy. You can still program using MicroPython with Thonny or using C with the Arduino IDE.
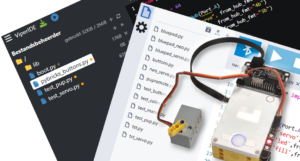
New firmware for LMS-ESP32 v2.0
The boards come pre-flashed with MicroPython 1.24 and includes libraries like lpf2, PUPRemote, SerialTalk, ulab, Neopixel and more. We have even included some constants because we had to change the RX and TX pins. You can from lms_esp32 import RX_PIN,TX_PIN to get the correct pins for the serial connection to your LEGO hub. Of course, we made the popular Bluepad gamepad firmware compatible with the new version. Head over to https://firmware.antonsmindstorms.com to grab your firmware of choice. All firmware runs on both 1.0 and 2.0 versions of the board.
Some things are gone too, we don’t miss them!
We removed the microphone socket for the i2s microphone. You can still connect such microphones through the 28 pin header. Just use ordinary Arduino jumper wires. The added benefit is that you have more placement freedom for the microphone.
With the smaller footprint of the ESP32 PICO, half the memory is gone. There is 4Mb flash and 2Mb ram left, which is plenty for most robot builders.
What’s your next project?
The LMS-ESP32 v2.0 is designed to meet the growing demands of modern robotics and IoT applications. Whether you’re building a remote-controlled robot or developing an interactive display system, this upgraded board offers enhanced performance, better connectivity options, and improved stability.
Stay tuned for upcoming tutorials that will guide you through setting up your LMS-ESP32 v2.0 board and exploring its new features. We hope you’re as excited about these upgrades as we are. The LMS-ESP32 v2.0 is now available for purchase—please let us know what you think!

Glad you’ve had success with the LMS ESP32, and I like all the new features you’ve added to version 2.0. I’ve been using the OpenMV camera with a lot of my projects and would probably switch to the LMS ESP32 if I could plug a camera into a USB port for machine vision capabilities. So looking
forward to maybe seeing this is version 3.0?
You can easily connect the OpenMV with 4 jumpers: 5v/GND and two serial or i2c wires. However, the OpenMV has a lot of onboard processing power, so how does esp32 add value in your project?
Does this version also connect to the EV3 hub? If so, does it need a special adapter cable or do the ones I have for my current LMS-ESP32 boards work?
You steel need that adapter. And somewhere on my todo list is still finding a way to use the USB ports instead of an adapter.
The ones you currently have, work.
asdf
another try