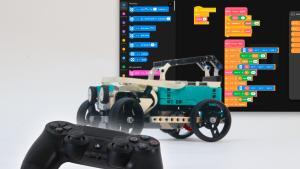
Add vision capabilities to your LEGO SPIKE Prime with the Pybricks HuskyLens connection. This guide shows how to integrate a HuskyLens camera into your robotics projects. As an example, we will be building a line following robot. But once you understand how this works, you can build all kinds of camera-enabled robots with your LEGO SPIKE Prime. I built this demo in under an hour, and you’ll probably be even faster with this guide.
Why Connect a HuskyLens to SPIKE Prime with Pybricks?
Connecting a HuskyLens camera to your SPIKE Prime hub using Pybricks opens up a world of robot-world interactions. Imagine giving your robot eyes that can follow lines, recognize objects, or even track faces. This integration enhances learning experiences for STEM and STEAM educators and offers LEGO Robotics enthusiasts new creative avenues.
Setting Up Your Pybricks HuskyLens Hardware
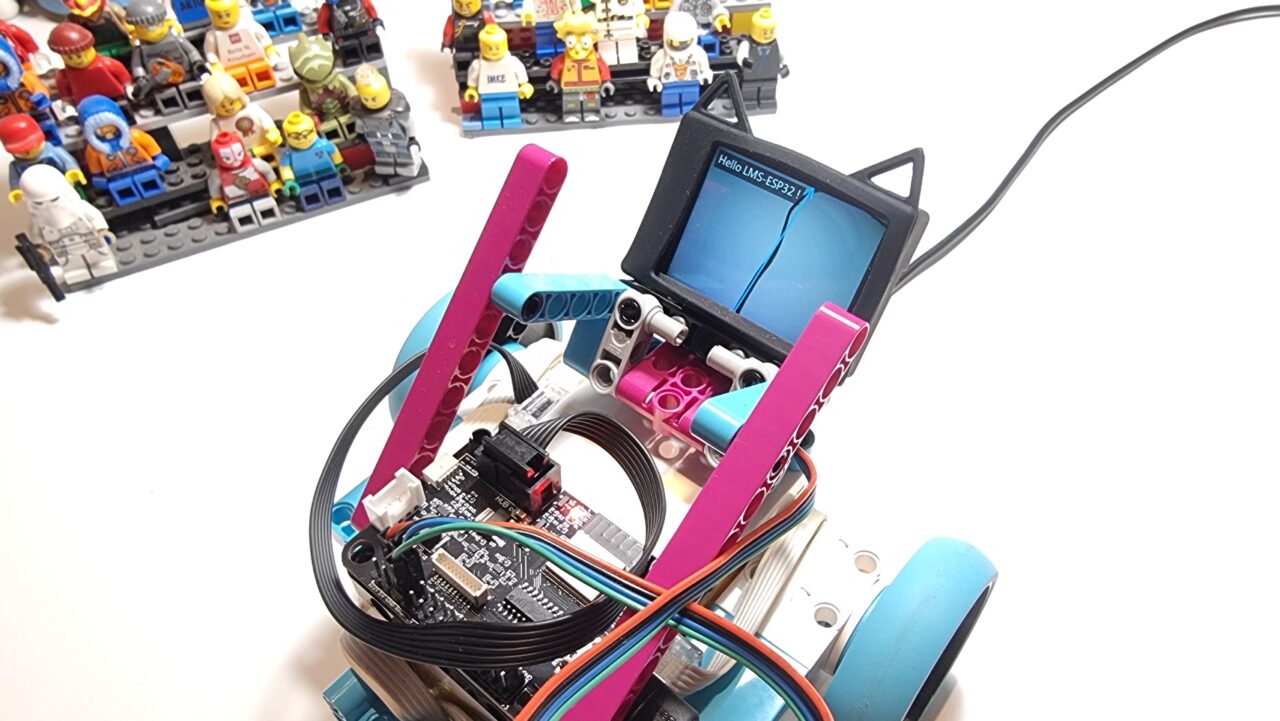
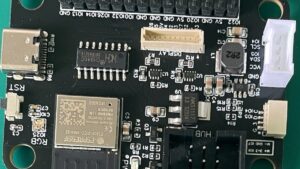
To connect the HuskyLens camera to the SPIKE Prime hub, you’ll need an intermediary board: the LMS-ESP32. This board acts like a translator, converting signals from the camera into something Pybricks can understand. It also provides the necessary power for the camera. The HuskyLens is very power-hungry, and the 5V converter of the LMS-ESP32 board comes in super handy!
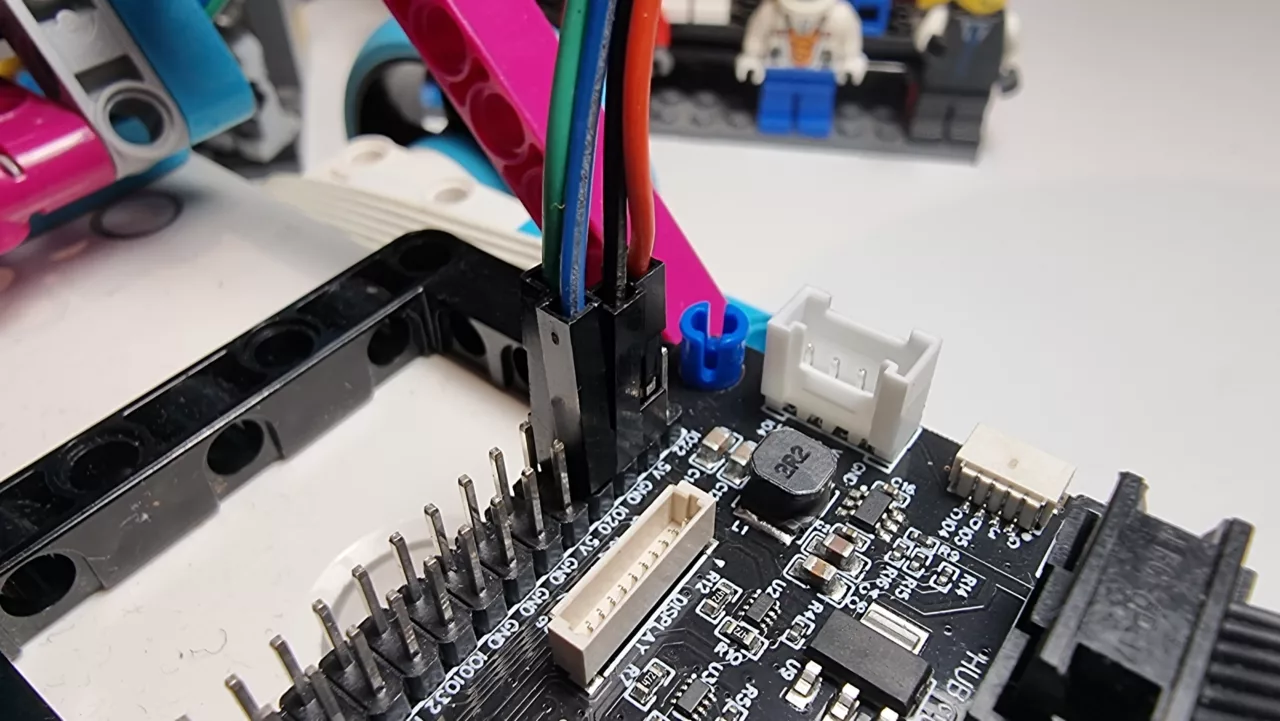
- Connect HuskyLens to LMS-ESP32: Attach wires from the camera to the board—red to 5V, black to GND, blue to IO20, and green to IO19.
- Power Up: Use a USB wire to connect LMS-ESP32 to your laptop. It will provide power to the connected HuskyLens and the screen will turn on.
- Check Communication Settings: Ensure HuskyLens is set to communicate via I2C in its general settings in the on-screen menu.
Preparing Your Programming Environment
The LMS-ESP32 comes equipped with MicroPython 1.24 by default. If needed, reflash it with this firmware version for compatibility.
- Open Thonny IDE: Connect to LMS-ESP32, running our MicroPython 1.24 build.
- Upload Necessary Files: Transfer
pyhuskylens.pyandmain.pyfrom my GitHub repository onto the board with the Thonny file browser.
Connecting the SPIKE Prime Robot to the LMS-ESP32 and the HuskyLens
With hardware and software ready, it’s time for integration:
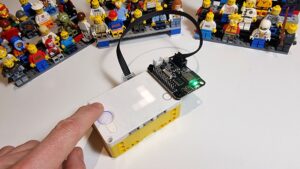
- Connect LMS-ESP32 and SPIKE Hub: Use Port A on your hub; motors should be connected on Ports E and F for our line-following robot example.
- Power On: Turn on your SPIKE hub; they will connect automatically, setting HuskyLens into line-following mode.
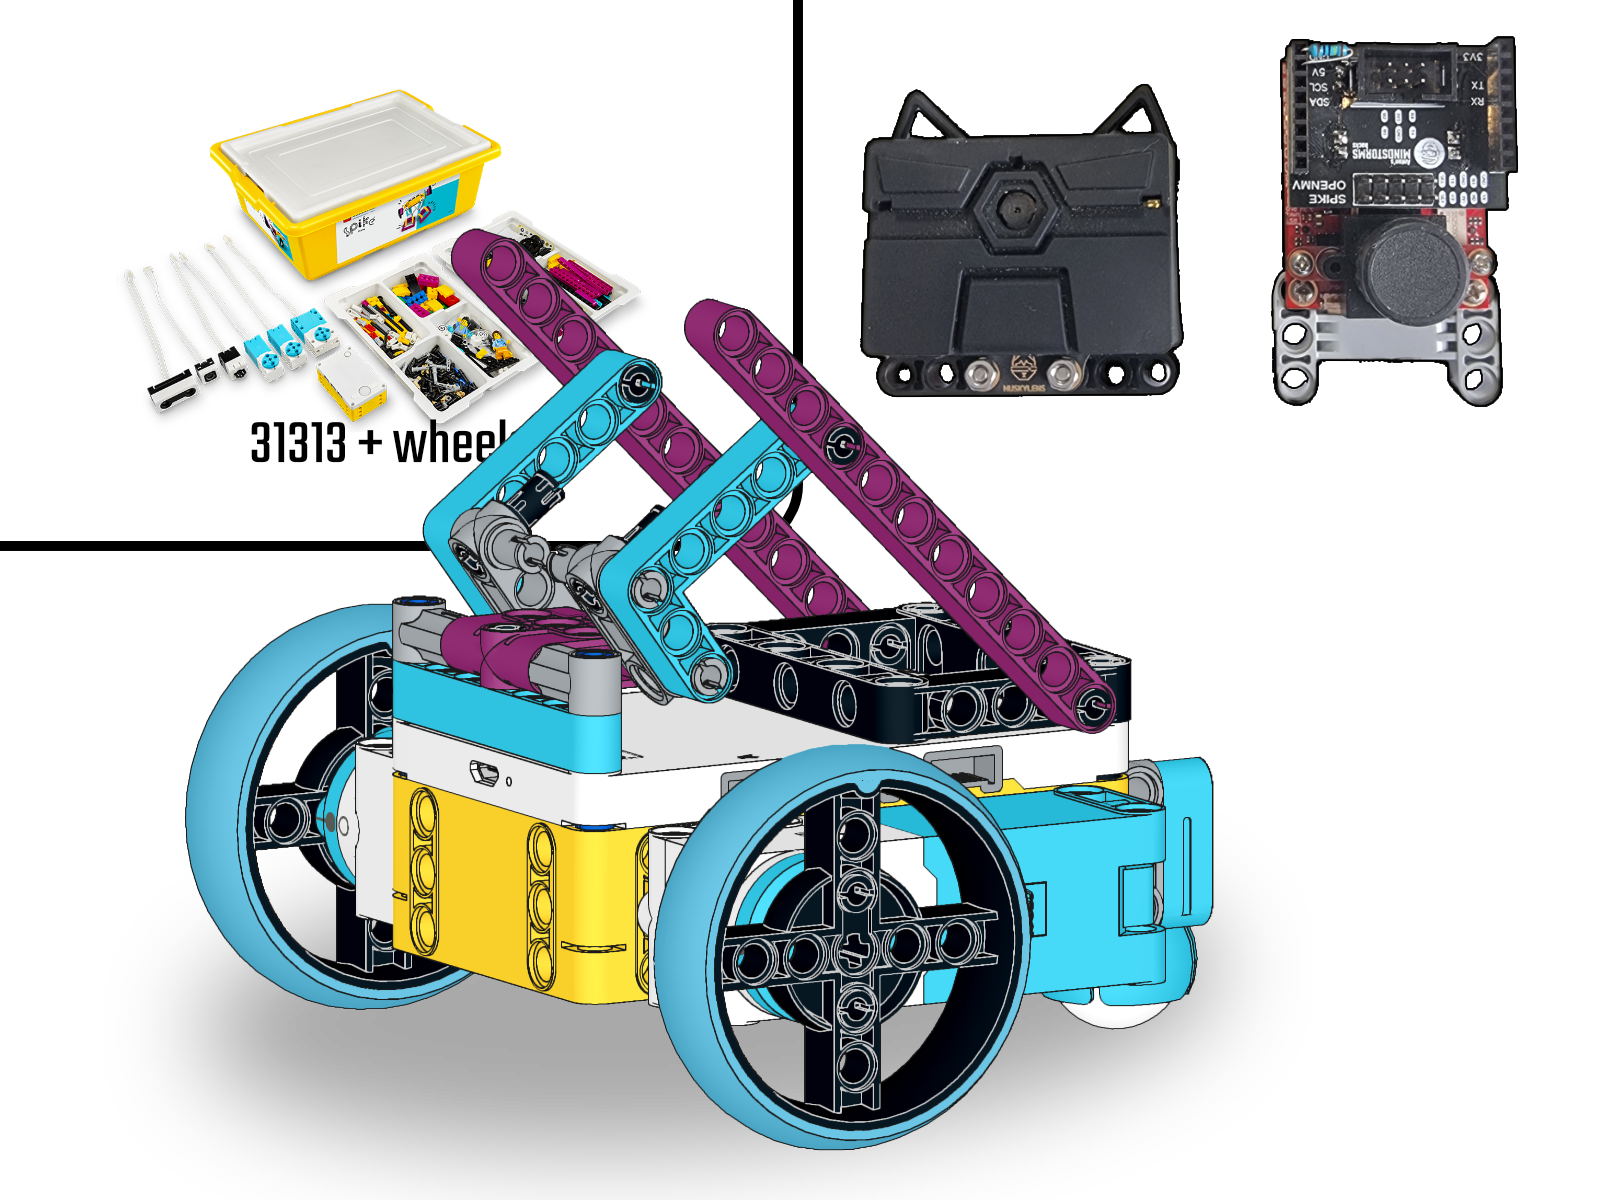
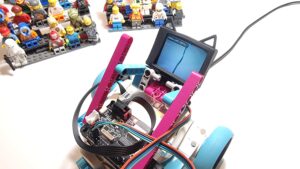
I used this model, it nicely holds and tilts both my OpenMV and HuskyLens cameras. You can easily invent one yourself, but the below building instructions are handy in a classroom setting. Or if you want to support my work. 🙂
Uploading Your Pybricks Program
Now that everything is connected physically, let’s get it running:
- Go Online: Visit code.pybricks.com.
- Download Library: Download pupremote_hub.py from GitHub.
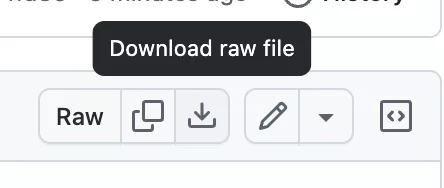
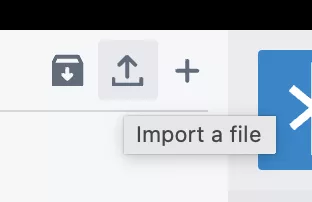
- Upload PUPRemote Hub Library: Upload the downloaded library into Pybricks with the upload button.
- Upload Program: In Pybricks, create a new Python program and give it a name of your choosing. Then paste this simple line-following program inside!
from pupremote_hub import PUPRemoteHub
from pybricks.parameters import Port, Direction
from pybricks.robotics import DriveBase
from pybricks.pupdevices import Motor

pr = PUPRemoteHub(Port.A)
pr.add_channel('line','hhb') # Pass two 'h'alf ints: x coordinate of line head, and of line tail.

lm = Motor(Port.E, Direction.COUNTERCLOCKWISE)
rm = Motor(Port.F)
db = DriveBase(lm, rm, 56, 16*8)

while 1:
    x_head, x_tail, line_seen = pr.call('line')
    steer = (x_head * 3 + x_tail * 10) / 13
    if line_seen:
        speed = 70
    else:
        speed = 0
    db.drive(speed, steer * 0.75)
Congratulations! Your robot now follows lines using its new vision capabilities.
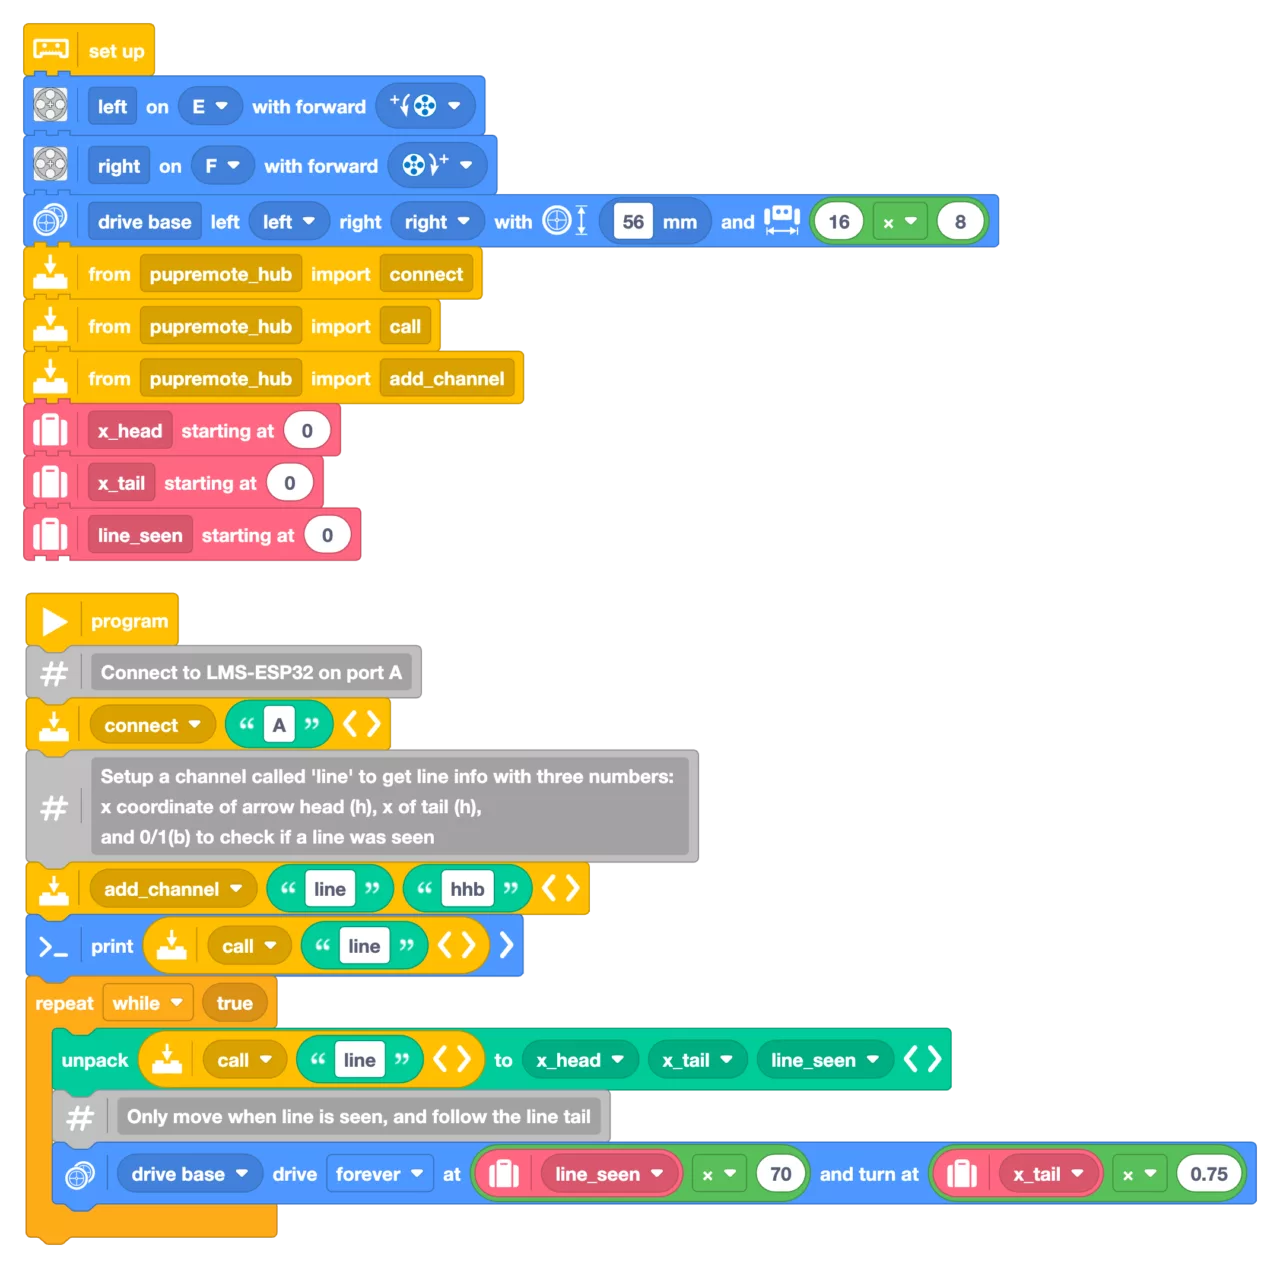
You can also make a line follower program with Pybricks blocks, which is really neat!
Explore Further Possibilities
With this setup complete, you’re ready to explore more advanced projects using HuskyLens’s features like object recognition or face tracking in your LEGO models. Share what you create—your innovations could inspire others!

