Eager to get started with your LMS-ESP32 board? This LMS-ESP32 starter guides you through setting the color LED using your SPIKE hub. Let’s explore how this simple project can enhance your understanding of robotics and programming.
Why Use the LMS-ESP32v2 RGB LED for start
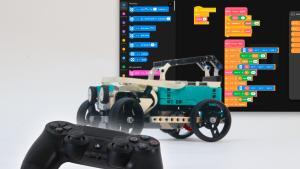
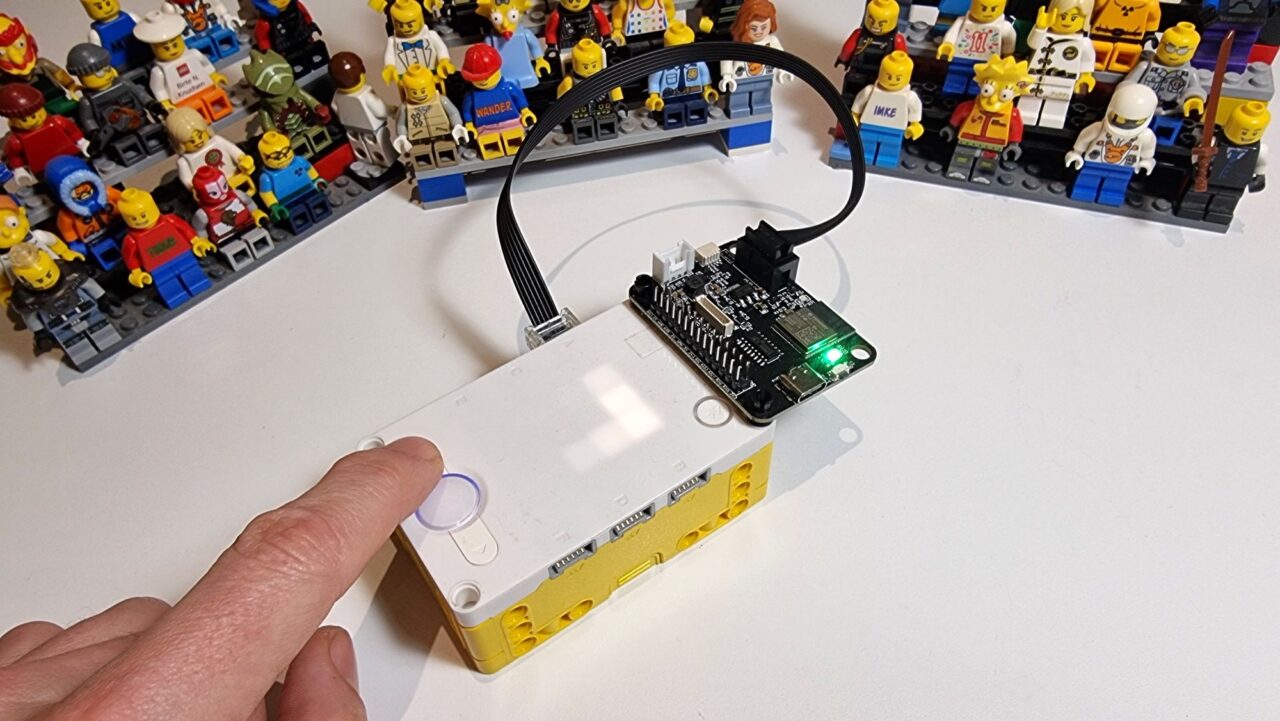
The LMS-ESP32 starter kit offers a fantastic way to expand your LEGO robotics projects. With its onboard NeoPixel, you can control colorful LEDs, adding a vibrant touch to your creations. This project empowers you to learn about communication between devices, specifically using the SPIKE hub and LMS-ESP32 board. Here’s the result of this project.
Prerequisites for this LMS-ESP32 starter guide
To start you only need these two items, no sensors or other LEGO needed! We’re going to let both items communicate with each other. I also use a Chrome or Chromium browser to connect to the hardware. You can even do this on a Chromebook!
- LEGO SPIKE Hub: Updated with Pybricks firmware.
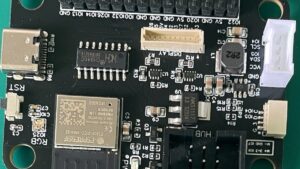
- LMS-ESP32v2 Board: Equipped with MicroPython firmware, plugged in port A.
Setting Up Your LMS-ESP32 script to control the onboard LED
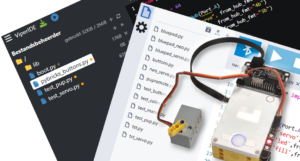
First, let’s prepare your LMS-ESP32 board by uploading a Python script. This script controls the NeoPixel LED based on commands from the SPIKE hub. Use the browser-based Viper IDE to upload this code to your LMS-ESP32. I prefer to use the USB connection in the top-right corner of Viper IDE.
You can just run this script, or click the save button in the top left.
from neopixel import NeoPixel
from pupremote import PUPRemoteSensor
from machine import Pin

def led(v):
    print(v) # prove that communication is working
    np[0] = (v, 255-v, 0) # green to red
    np.write() # write the color buffer to the led

np = NeoPixel(Pin(25), 1) # onboard neopixel
np[0] = (0, 0, 255) # blue in the color buffer
np.write()

rs = PUPRemoteSensor()
rs.add_command('led', '', 'B')
rs.process()

while True:
    rs.process()
This script sets up a connection with your SPIKE hub and adjusts the LED color based on received signals.
Programming Your LEGO SPIKE Hub to change the LED value on the LMS-ESP32
Next, configure your LEGO SPIKE hub to send commands that change the LED color when buttons are pressed. First we need to upload the communication library, next we can write our interactive script.
1 . Uploading the PUPRemote communication library
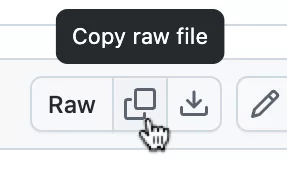
Add a file named pupremote_hub.py containing necessary functions from antonvh/PUPRemote. This file ensures smooth communication between devices. Simply press ‘copy raw’ on GitHub and paste it in a new python file in the Pybricks IDE.
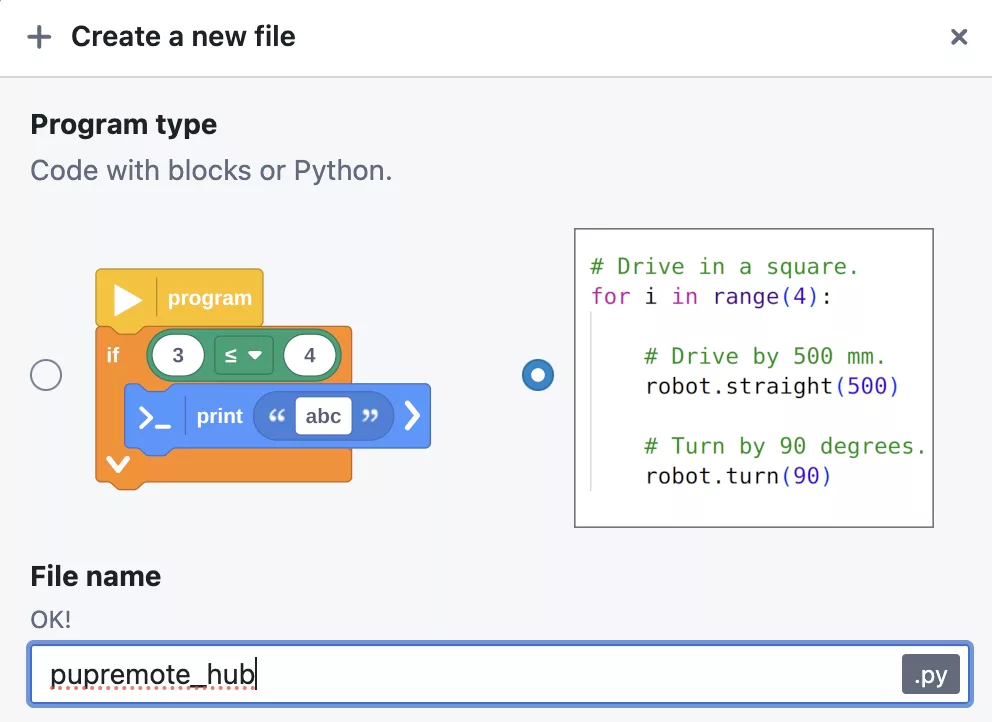
Ensure the new file is called exactly pupremote_hub.
2. Write the Button Code in Pybricks Code IDE
Put the below code in another new program in Pybricks Code IDE. You can choose the name, this time!
from pybricks.parameters import Port, Button
from pybricks.tools import wait
from pybricks.hubs import PrimeHub
from pupremote_hub import PUPRemoteHub

hub = PrimeHub()

rh = PUPRemoteHub(Port.A)
rh.add_command('led', '', 'B')

val = 125
while True:
    if Button.LEFT in hub.buttons.pressed():
        if val >= 5: val -= 5
    elif Button.RIGHT in hub.buttons.pressed():
        if val <= 250: val += 5
    rh.call('led', val)
    wait(100) # Wait a bit to avoid button press triggering too often.
This script listens for button presses on your SPIKE hub and sends a red-green value to change the LED color. When both scripts are running, you should have the result from the video above.
How to make the LMS-ESP32 always start the script
If you want to always run your script when the lms-esp32 is powered on you have two options in Viper IDE: put it in a file called main.py, or append the file boot.py with this line import test.py – that’s assuming you pasted the above script in test.py, the default name in Viper IDE.
Your next challenge with the onboard LED of the LMS-ESP32
By completing this project, you gained hands-on experience in creating custom sensors and controls with SPIKE Prime, Pybricks and LMS-ESP32. It is a solid foundation for more complex projects in robotics and programming. Here are a few ideas:
Challenge 1: two-way communication.
Now that you got one way communication, why not look at the PUPRemote documentation and try to build two-way communication. Your challenge: Let the LMS-ESP32v2 report the calculate hue back to the SPIKE Prime hub.
Challenge 2: all colors of the rainbow
Did you know you can simply import np_animation from mpy-robot-tools on LMS-ESP32? It comes precompiled in our MicroPython firmware. Take a look at the documentation and use the hsl_to_rgb() function to create RGB values that take all colors of the rainbow.
Looking forward to your solutions!